You’ve just unboxed your first proper espresso machine, loaded the portafilter with freshly ground coffee, hit the button, and… the shot dribbled out in about forty-five seconds, tasting like someone dissolved a paracetamol in hot water. Or maybe it gushed through in eight seconds flat, producing something that looked like dirty dishwater. Either way, it wasn’t the rich, syrupy espresso you watched on YouTube. Welcome to the world of dialling in — and don’t worry, every home barista has been exactly where you are right now.
Dialling in espresso is the process of adjusting your grind size, dose, and yield until you get a shot that tastes balanced and delicious. It sounds technical, but once you understand the basic variables, it becomes intuitive. The first few times take patience. After that, you’ll dial in a new bag of beans in two or three shots without thinking about it.
In This Article
- What Dialling In Actually Means
- The Equipment You Need
- Understanding the Three Key Variables
- Your First Dial-In: Step by Step
- Reading Your Shot: What to Look For
- Common Problems and How to Fix Them
- How Grind Size Affects Espresso
- Dose and Ratio: Getting the Numbers Right
- Temperature and Pressure
- Dialling In with Different Beans
- Tools That Make Dialling In Easier
- Frequently Asked Questions
What Dialling In Actually Means
Espresso is fussy. Unlike a cafetière or pour-over where you’ve got a generous margin of error, espresso magnifies every variable. Water is forced through a tightly packed bed of finely ground coffee at roughly 9 bars of pressure, extracting flavour compounds in just 25-30 seconds. Get the variables slightly wrong and you’ll taste it immediately.
Why you can’t just set it and forget it
Every bag of coffee is different. Different origins, roast levels, and ages all change how water interacts with the grounds. A bag of medium-roasted Brazilian beans needs a completely different grind setting to a light-roasted Ethiopian. Even the same coffee changes as it ages — beans two days off roast behave differently to beans two weeks off roast. This is why dialling in is something you do with every new bag, not a one-time setup.
The goal
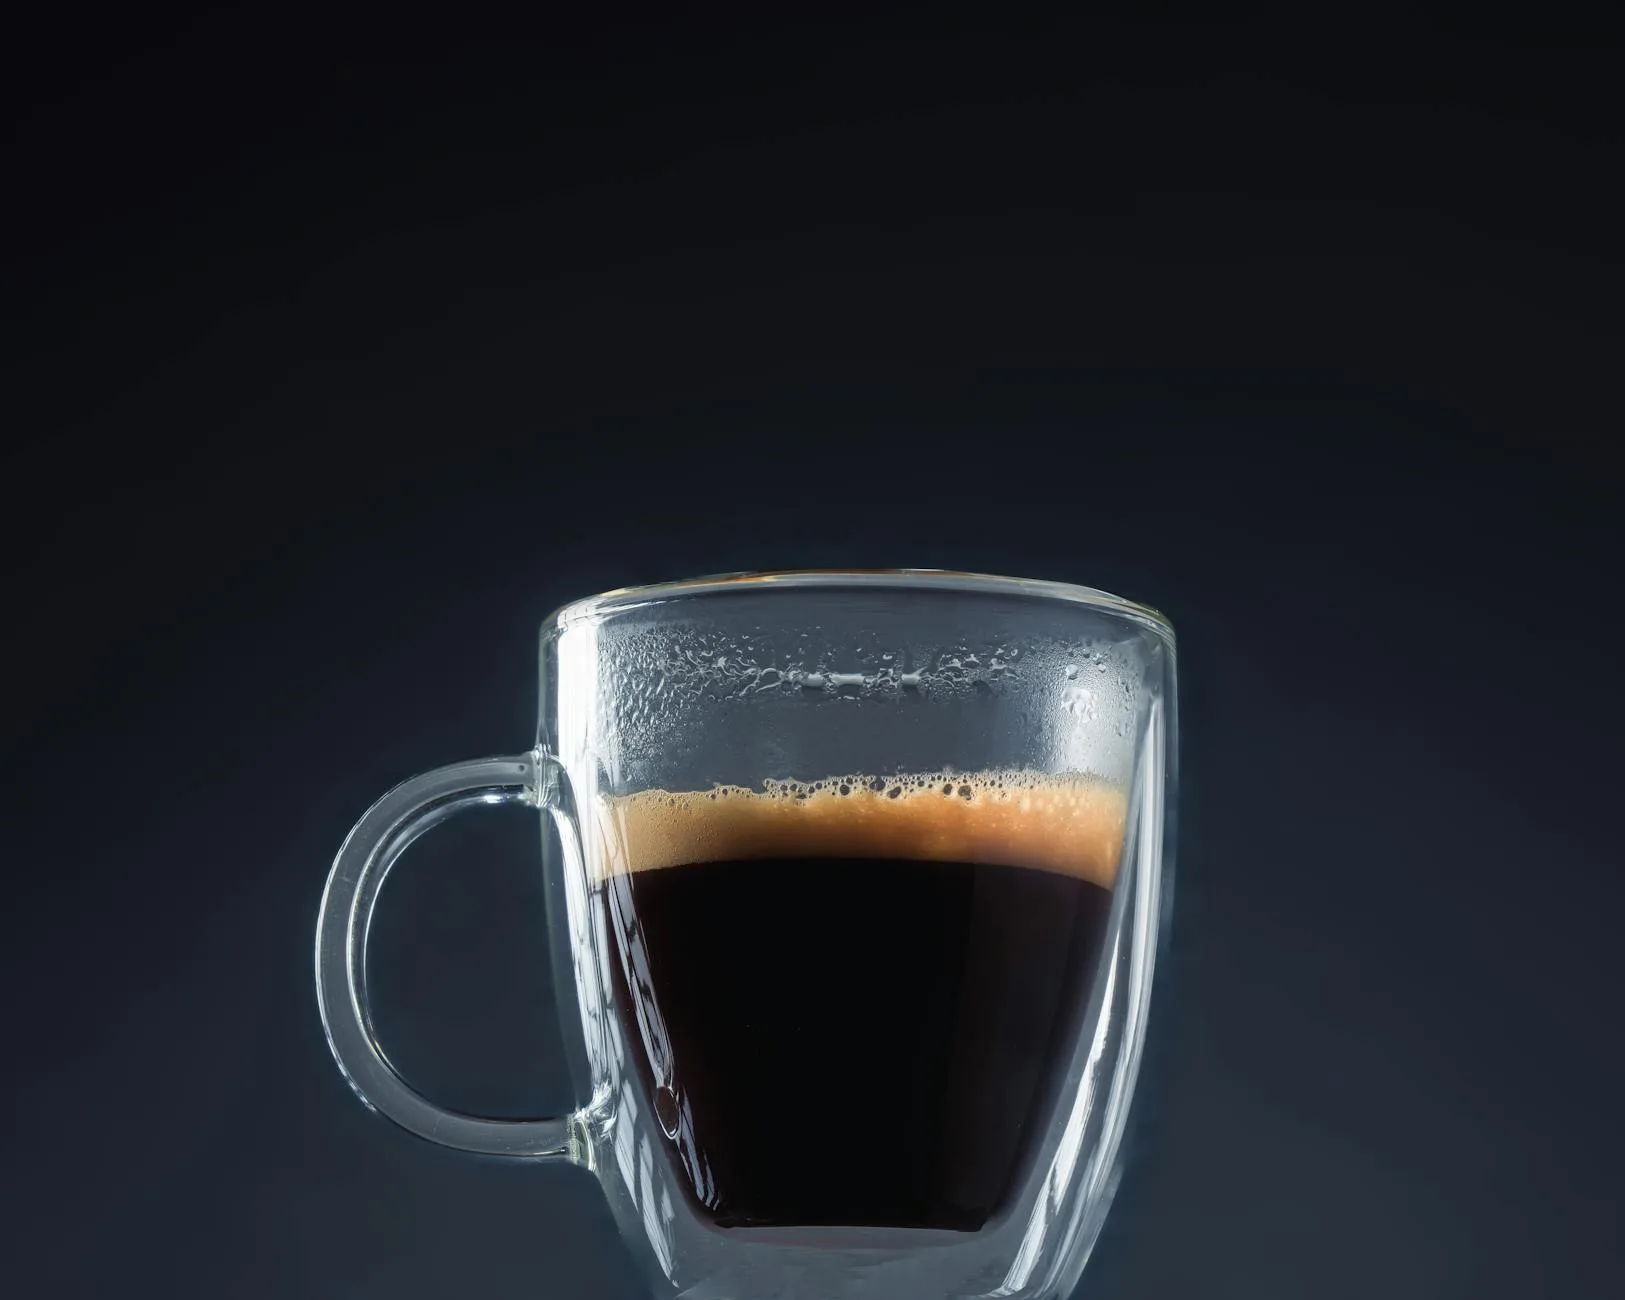
A well-dialled-in espresso should taste balanced: sweet, with some pleasant acidity, and a clean finish. It shouldn’t be bitter (over-extracted) or sour (under-extracted). The crema should be golden-brown and about 2-3mm thick — not pale and thin, not dark and spotty. When you nail it, you’ll know. It’s one of those “oh, that’s what all the fuss is about” moments.
The Equipment You Need
You don’t need thousands of pounds worth of kit, but you do need a few essentials beyond your machine and grinder.
Scales (non-negotiable)
A decent set of coffee scales is the single most important tool for dialling in. You need to weigh your dose going in and your yield coming out. Eyeballing it is guessing, and guessing means you can’t replicate a good shot or diagnose a bad one.
- Budget: Timemore Black Mirror Nano — about £35-45 from Amazon UK. Quick response, fits under most portafilters, built-in timer
- Mid-range: Acaia Lunar — around £200 from Bella Barista. The gold standard. Waterproof, hyper-responsive, connects to apps
- Decent alternative: Any kitchen scale that reads to 0.1g works in a pinch, though the response time is usually slower
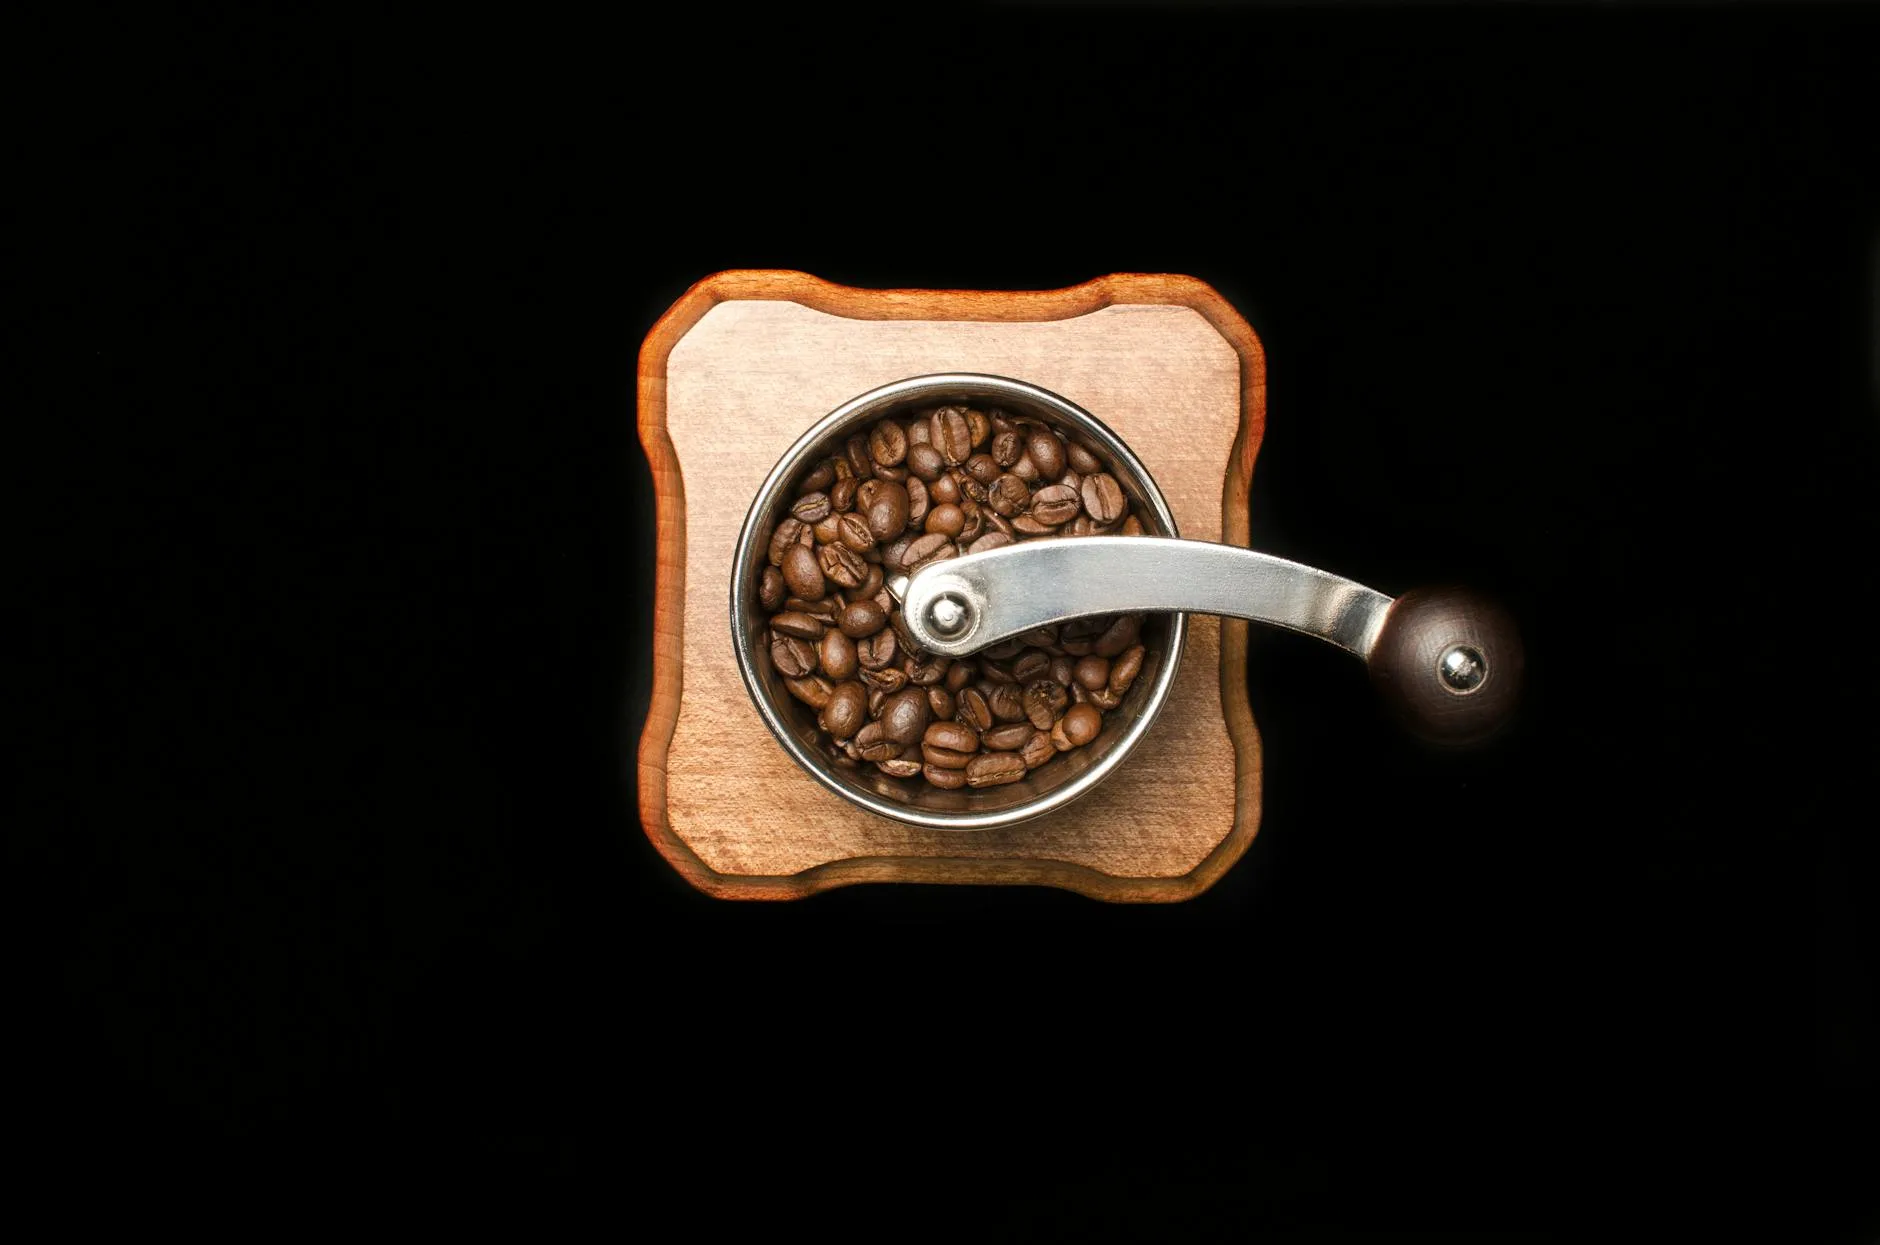
A good grinder
Your grinder matters more than your machine — I know that sounds like coffee snobbery, but after two years of making espresso at home, I’m completely convinced. A £300 grinder paired with a £400 machine will produce better espresso than a £100 grinder paired with a £600 machine. Every time.
For understanding how different grind settings affect your espresso, our guide to coffee grind sizes explained goes into much more detail.
Other useful bits
- Knock box — for emptying used pucks (about £10-20)
- Distribution tool (WDT) — a needle tool for breaking up clumps in the portafilter (about £5-15)
- Tamper — most machines come with one, but a calibrated tamper (about £25-40) gives you consistent 30lb pressure every time
- Shot glass or cup on the scale — to measure your output weight
Understanding the Three Key Variables
Espresso dialling in comes down to three things: dose, yield, and time. Change one, and it affects the others. If you are exploring this area, our guide on Bean-to-Cup vs Espresso Machine: Which Is Right for You? covers the essentials.
Dose (how much coffee goes in)
This is the weight of dry ground coffee in your portafilter basket. Most standard double baskets take 18g, though this varies from 15g to 22g depending on your basket. Start with whatever your basket is rated for — it’s usually stamped on the side or listed in your machine’s manual.
Yield (how much espresso comes out)
This is the weight of liquid espresso in your cup. Combined with dose, this gives you your brew ratio. A classic espresso ratio is 1:2 — so 18g in, 36g out. That’s your starting point, not a rule carved in stone.
Time (how long the shot takes)
Aim for 25-30 seconds from the moment you start the pump to when you stop it. This isn’t a fixed target — some coffees taste best at 22 seconds, others at 35 — but it’s a reliable starting range while you learn.
Your First Dial-In: Step by Step
Right, let’s actually do this. Grab your beans, your machine, and your scales.
- Weigh your dose — start with 18g of freshly ground coffee (adjust to match your basket size)
- Grind into the portafilter, distribute evenly with a WDT tool or by tapping the sides, and tamp firmly and level
- Place your cup on the scale, tare to zero, lock in the portafilter, and start the shot
- Watch the weight climbing in the cup — stop the shot when you hit 36g (for a 1:2 ratio)
- Note the total time — if it was between 25-30 seconds, taste it. If not, you need to adjust
- If the shot ran too fast (under 25 seconds), grind finer. If it ran too slow (over 30 seconds), grind coarser
- Repeat, changing only one variable at a time, until the time is right and the taste is balanced
That last point is critical: change one thing at a time. If you adjust the grind AND the dose simultaneously, you won’t know which change made the difference.
Reading Your Shot: What to Look For
Visual clues
The first few seconds tell you a lot. A well-extracted shot starts with dark drips that quickly turn into a steady, honey-like stream. If it’s:
- Gushing out pale and watery — the grind is too coarse or the dose too low. The water is rushing through without extracting enough
- Dripping slowly and looking dark/oily — the grind is too fine or the dose too high. The water can’t get through the coffee bed efficiently
- Blonde and thin from the start — severely under-extracted. Go much finer
- Starting dark then quickly going pale (known as “blonding”) — stop the shot here, you’ve extracted the good stuff and now you’re pulling bitter compounds
Taste clues
This is ultimately what matters. Forget how the shot looks if it tastes great — but taste is also your diagnostic tool:
- Sour, sharp, acidic — under-extracted. Grind finer, or try a longer ratio (1:2.5)
- Bitter, harsh, ashy — over-extracted. Grind coarser, or try a shorter ratio (1:1.8)
- Sweet, balanced, clean finish — you’ve nailed it. Write down your settings immediately so you can replicate them
- Thin and watery — usually too coarse a grind or too low a dose
- Astringent, dry mouthfeel — channelling (water finding shortcuts through the puck). Improve your distribution
Common Problems and How to Fix Them
Channelling
This is the number-one enemy of good espresso. Channelling happens when water finds a weak spot in the coffee bed and rushes through it instead of flowing evenly through the whole puck. The result: part of the coffee is over-extracted (bitter) and part is under-extracted (sour), and the shot tastes muddy and unpleasant.
Signs of channelling:
- Spurting or uneven flow from the bottom of the portafilter
- Dramatically different streams from each spout (on a double-spouted portafilter)
- Shot runs fast despite a fine grind
Fixes:
- Distribute more carefully — use a WDT tool (a few needles in a cork works perfectly) to stir the grounds before tamping
- Tamp level — if your tamper goes in at an angle, one side of the puck is thinner than the other
- Check for clumps — some grinders (especially hand grinders) produce clumps that cause channels
The shot is just… bland
If your espresso tastes flat and lifeless rather than actively bad, the beans might be the issue. Coffee peaks for espresso roughly 7-21 days after roasting. Supermarket beans are often months old. Try a bag from a UK roaster — Square Mile, Hasbean, Origin, or Assembly are all excellent — and make sure the roast date is within the last month. You’ll notice the difference immediately.
Bottomless portafilter spraying everywhere
If you’ve switched to a bottomless portafilter (which is great for diagnosing problems), spraying means channelling. Don’t take it personally — it happens to everyone at first. Focus on your distribution and puck prep, and the spray will calm down as your technique improves.
How Grind Size Affects Espresso
Grind size is your primary adjustment tool when dialling in. Think of it this way: finer grounds create more resistance to water flow (slower extraction, more intense flavour), while coarser grounds create less resistance (faster flow, lighter flavour).
Making micro-adjustments
Most espresso grinders have numbered settings, but the numbers are meaningless between different grinders. What matters is the relative adjustment. When dialling in:
- Move in small increments — one notch or number at a time
- Purge a small amount after adjusting — old grounds at the previous setting are still in the burr chamber
- Give each adjustment a full shot before judging — don’t adjust again based on the first few seconds of flow
After you get comfortable with how grind size changes affect your shots, you’ll develop an instinct for it. I can usually tell within the first five seconds of a shot whether the grind needs adjusting, and roughly by how much. That comes with practice — probably about fifty shots’ worth, which sounds like a lot but goes surprisingly quickly when you’re making two a day.
Stepped vs stepless grinders
Stepped grinders click between fixed positions. Sometimes the “right” grind is between two steps — in which case, use the finer step and slightly reduce the dose. Stepless grinders allow infinite adjustment, which is more precise but means you need to be more careful about making tiny, repeatable changes. You might also find our Best Espresso Machines 2026 UK: Manual, Semi-Auto & Bean-to-Cup guide useful here.
Dose and Ratio: Getting the Numbers Right
The standard starting point
- Dose: 18g (adjust to your basket)
- Ratio: 1:2 (so 36g output for 18g input)
- Time: 25-30 seconds
This is where most people start, and it works for most medium-roasted coffees. But it’s a starting point, not the destination.
When to change the ratio
- Darker roasts often taste better at shorter ratios (1:1.5 to 1:1.8) — these are called ristrettos, and they emphasise body and sweetness while reducing bitterness
- Lighter roasts often need longer ratios (1:2.2 to 1:2.5) to bring out their acidity and complexity — pull them too short and they taste sour and underdeveloped
- If you’re adding milk, a shorter, more concentrated shot often works better because it cuts through the milk without getting lost
The dose matters more than you think
Changing your dose by even 0.5g changes the shot noticeably. If you’re at 18g and the shot is slightly sour, try 18.5g before changing the grind. More coffee means more resistance, which means slower flow and higher extraction — sometimes that’s all you need. This is where scales that read to 0.1g really earn their keep.
Temperature and Pressure
Temperature
Most machines run at 90-96°C, and the default is usually fine for starting out. If you’ve got a machine with adjustable temperature (single vs dual boiler machines handle this differently):
- Higher temperatures increase extraction — useful for light roasts that need more coaxing
- Lower temperatures decrease extraction — useful for dark roasts that can go bitter quickly
- Standard setting (93°C) works for most medium roasts
Don’t adjust temperature until you’ve exhausted grind size and dose changes first. It’s a fine-tuning variable, not a primary one.
Pressure
Standard espresso pressure is 9 bars. Most consumer machines are factory-set to this, and some cheaper machines actually run at 15 bars (the Sage Bambino, for instance, has a 15-bar pump but an internal valve that limits actual extraction pressure to 9 bars). Unless you have a machine with programmable pressure profiling, this isn’t something you’ll adjust.
If you’re shopping for your first machine, our roundup of the best espresso machines under £500 covers what to look for at each price point.
Dialling In with Different Beans
Fresh vs rested beans
Coffee needs to degas after roasting. Espresso made with beans less than 5 days off roast will produce huge crema, uneven extraction, and muddled flavours. Most specialty roasters recommend waiting 7-14 days for espresso. After about 5-6 weeks, beans start going stale and you’ll notice the crema thinning and flavours flattening.
We buy from a rotating list of UK roasters — currently cycling through Square Mile, Kiss the Hippo, and Rave Coffee — and find that most of their espresso blends hit their stride around 10-14 days post-roast. Light single origins sometimes need longer, up to three weeks.
Light vs dark roasts
- Light roasts: Grind finer, use a longer ratio (1:2.2-1:2.5), consider higher temperature. These are harder to dial in but reward patience with complex, fruity flavours
- Dark roasts: Grind slightly coarser, use a shorter ratio (1:1.5-1:2), consider lower temperature. More forgiving, but easier to over-extract into bitterness
- Medium roasts: The sweet spot for beginners. Standard 1:2 ratio, standard temperature, most forgiving of technique errors
Blends vs single origins
Espresso blends are designed to be easy to dial in and taste balanced. They’re usually a mix of origins chosen for sweetness, body, and consistency. Single origins are more distinctive but more demanding — a natural-processed Ethiopian will taste wildly different to a washed Colombian, and they’ll need different approaches.
If you’re just starting out, begin with a well-reviewed espresso blend. Once you’re confident with the process, branch out to single origins and discover what you enjoy.
Tools That Make Dialling In Easier
Beyond the essentials, a few upgrades make the process smoother:
- WDT tool — needle distribution tool, breaks up clumps and distributes grounds evenly (£5-15 from Amazon UK, or make one with acupuncture needles and a wine cork)
- Dosing funnel — sits on top of the portafilter and catches stray grounds (about £8-12)
- Calibrated tamper — clicks at 30lb pressure so you tamp consistently every time (£25-40 from Bella Barista or Coffee Hit)
- Bottomless portafilter — lets you see exactly how the extraction is flowing, essential for diagnosing channelling (£15-30, site-specific)
- Espresso journal or app — record your settings for each coffee so you can return to them. The Beanconqueror app is free and brilliant
The Speciality Coffee Association publishes brewing standards and research that’s worth reading once you’re past the basics — their extraction yield and Total Dissolved Solids guidelines explain the science behind why the 1:2 ratio works.
A note on upgrading your grinder
If you’re fighting your grinder — if the adjustment is too coarse-stepped, if the grind is inconsistent, if you’re getting clumps no matter what — a grinder upgrade will improve your espresso more than any other single change. The Sage Smart Grinder Pro (about £200) is the entry point for decent espresso grinding. The Niche Zero (about £500 from nichecoffee.co.uk) is where most home baristas settle and stop looking. The DF64 (about £350-400) is the current value sweet spot.
Keeping It Simple
Here’s the cheat sheet for when you’re standing in the kitchen at 7am and just want a good coffee:
- Weigh 18g of beans, grind into the portafilter
- Distribute and tamp level
- Start the shot, aim for 36g out in 25-30 seconds
- Too fast? Grind finer. Too slow? Grind coarser
- Taste. Sour? Go finer or longer ratio. Bitter? Go coarser or shorter ratio
- When it tastes good, write down your settings and repeat tomorrow
That’s it. The rest is refinement. And the beautiful thing about espresso is that the refinement never really ends — there’s always a new bean, a new technique, a new variable to explore. But the basics above will get you pulling excellent shots within your first week.
Frequently Asked Questions
How many shots does it take to dial in a new bag of beans? Usually 3-5 shots for an experienced home barista, and maybe 5-10 when you’re starting out. That sounds like a lot of wasted coffee, but each shot only uses 18g and the failed ones are still drinkable in milk drinks. After a few bags, you’ll develop a sense for where to start based on roast level and origin.
Do I need to dial in every single day? Not every day, but check your first shot each morning. Beans change subtly as they age, and temperature and humidity affect things too. If your first shot tastes off, a small grind adjustment usually sorts it. Think of it as a minor tweak, not a full dial-in from scratch.
Can I dial in espresso with pre-ground coffee? Technically yes — you can adjust dose and yield — but you’ve lost your primary variable (grind size). Pre-ground espresso coffee goes stale within days and you can’t fine-tune extraction. If you’re serious about espresso, a grinder is the first investment to make.
Why does my espresso taste different to what I get in coffee shops? Coffee shops use commercial grinders (£1,000+) with massive flat burrs that produce incredibly uniform particles. They also dial in multiple times a day and use water that’s been specifically filtered and mineralised. Your home setup won’t exactly replicate that, but you can get remarkably close with practice and decent equipment.
What’s the best beginner espresso machine for learning to dial in? The Sage Bambino Plus (about £300-350 from Currys or John Lewis) is hard to beat. It has proper 9-bar pressure, PID temperature control, and automatic milk steaming. Pair it with a Sage Smart Grinder Pro and you’ve got a setup under £550 that’ll make excellent espresso.