The quickest way to make a home coffee station feel cleaner is to stop drips reaching the worktop in the first place. A small tray under the machine, a grippy tamping mat, and one proper cloth routine do more than a drawer full of fancy accessories. This coffee station drip tray guide is about the unglamorous kit that keeps espresso splashes, milk spots and wet grounds under control.
In This Article
- Why a Tray and Mat Setup Works
- Coffee Station Drip Tray Guide: Choose the Right Parts
- Where to Put Trays, Mats and Knock Boxes
- Cleaning Routine That Does Not Become a Chore
- Product Picks and UK Prices
- Common Problems and Fixes
- What I Would Buy for Most UK Kitchens
- Frequently Asked Questions
Why a Tray and Mat Setup Works
Coffee mess is predictable. Espresso machines drip after the shot, grinders throw tiny flecks of coffee sideways, milk jugs leave rings, and knock boxes always seem to collect one damp halo of grounds around the base. You can wipe the surface every time, but a better setup catches most of it before it spreads.
It creates a controlled wet zone
Think of your coffee station as having two zones. The wet zone is where water, espresso and milk touch the counter. The dry zone is where beans, scales, cups and accessories live. If those zones overlap, the whole area feels grubby even when it is not filthy.
A drip tray or shallow serving tray gives the wet zone a boundary. If your machine’s own drip tray is small, a larger tray under the machine catches overflows from purging, rinsing portafilters and moving cups around. That matters more with compact machines, where the built-in tray can fill quickly after a few Americanos or milk drinks.
It protects worktops without making the station ugly
Wood, laminate and stone all cope differently with coffee. A few drops will not ruin a quartz worktop, but dark coffee sitting under a machine foot can stain silicone seals, grout lines and porous stone. Wooden worktops are less forgiving, especially around joins.
A decent mat also stops tools from clattering. If you have already spent money on a machine after reading our best espresso machines under £500 guide, it feels daft to let a £10 accessory be the reason your counter looks tired.
It makes cleaning faster because the mess is visible
The hidden mess is the one that gets bad. Coffee grounds under a grinder, milk residue behind a frother, or sticky syrup near a cup stack all become harder to clean if they sit there for days.
With trays and mats, you lift one item, rinse it, dry it and put it back. That is a two-minute job. Cleaning a whole coffee corner after a week of splashes is the job nobody wants to start.
Coffee Station Drip Tray Guide: Choose the Right Parts
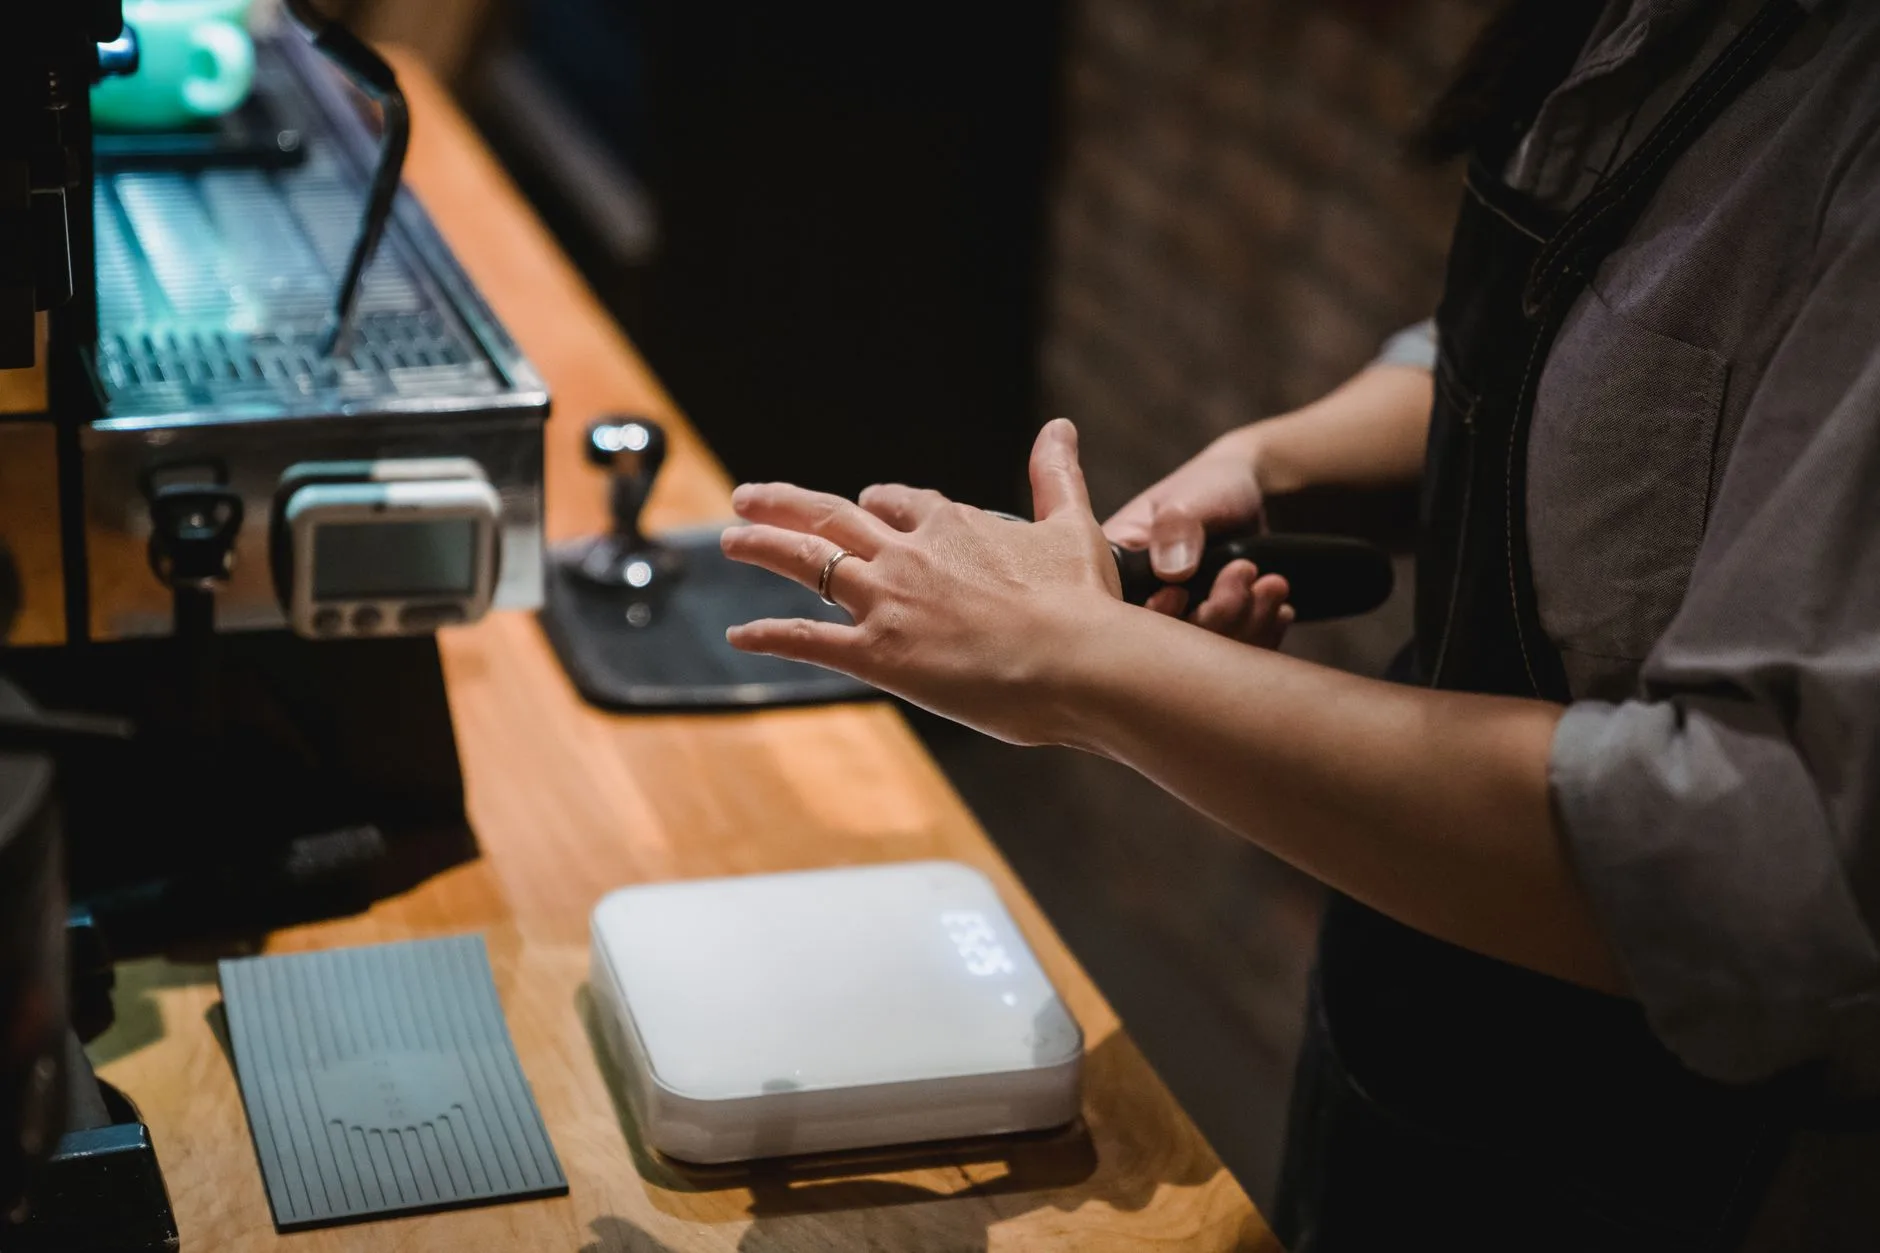
The best coffee station drip tray guide is boringly practical: choose pieces that fit your worktop, do not slide around, rinse clean quickly, and do not trap water underneath. Looks matter, but only after those basics.
Machine drip tray versus worktop tray
Your machine already has a drip tray, but it only catches what falls through the cup grid. It will not catch water from the side of a rinsed portafilter, milk splashed from a jug, or espresso that runs down the outside of a cup.
A worktop tray sits under or beside the machine. It can be:
- A shallow stainless-steel tray: easy to wipe, heat resistant, and usually £12-£25 from Amazon UK or catering suppliers.
- A plastic serving tray: cheap at £4-£10 from IKEA, Dunelm or supermarkets, but more likely to scratch.
- A silicone draining mat: grippy and quiet, usually £8-£18 from Amazon UK or Lakeland.
- A bar-service spill mat: excellent for tamper areas and milk jugs, often £10-£20 from coffee retailers.
For most kitchens, a silicone mat beside the machine is more useful than a deep tray under everything. Deep trays look tidy at first, then become awkward because you have to lift the machine to empty or clean them.
Tamping mats and corner mats
A tamping mat protects the worktop edge when you press down on the portafilter. It is not only about mess. It stops the metal portafilter spouts scratching the counter and gives you a stable point for tamping.
Corner mats suit small kitchens because they hook over the counter edge. Flat mats are better if you tamp on a central island or next to a grinder. If you use a bottomless portafilter, a flat mat is easier to clean because you are not trying to brush grounds out of a folded corner.
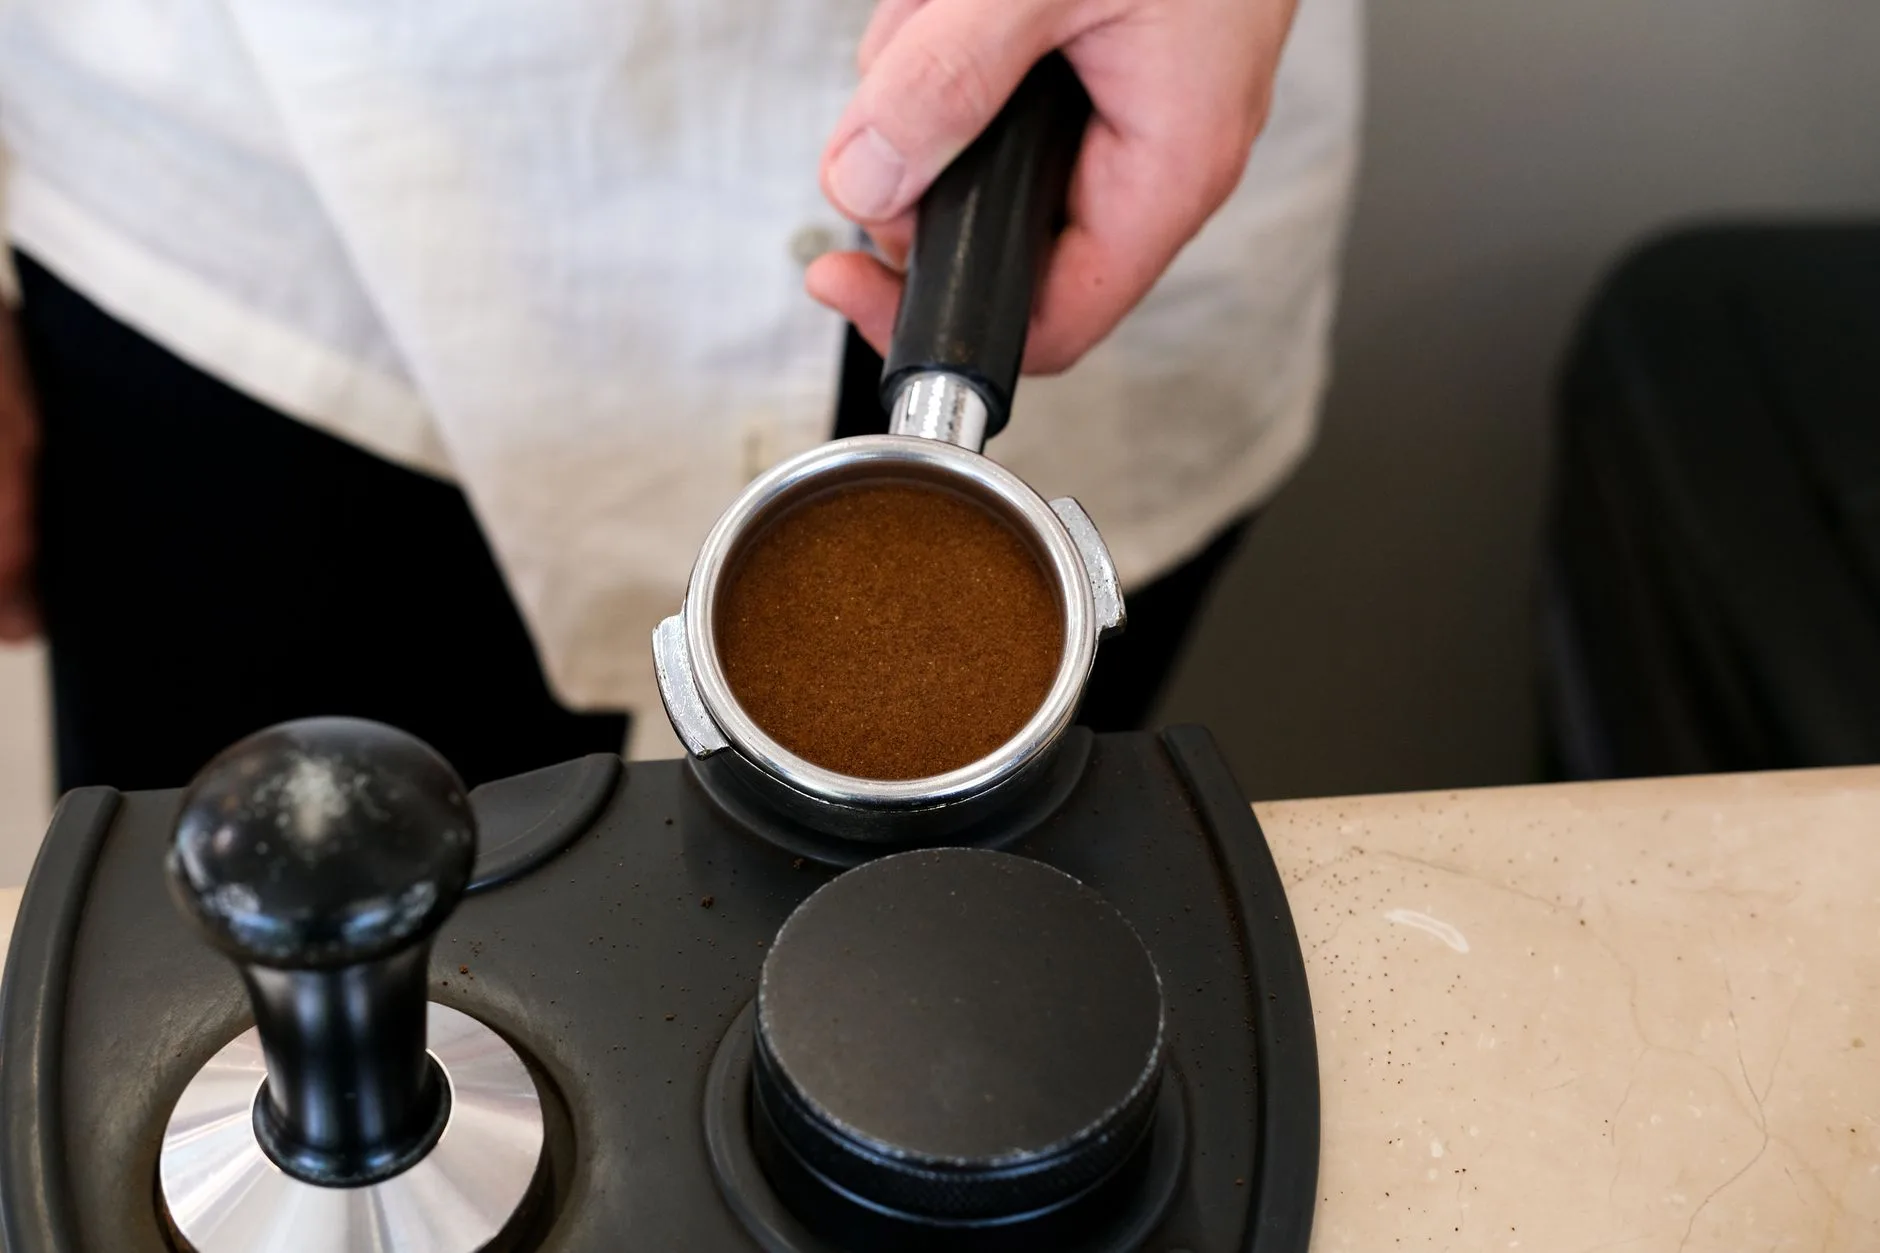
Budget tamping mats start around £8. A better rubber mat from Rhino Coffee Gear, Motta or Normcore is usually £14-£25 from Amazon UK, Coffee Hit, Bella Barista or The Espresso Shop. I would not spend much more unless you want a specific colour or a full tamping station.
Drying mats for cups and jugs
A drying mat is different from a drip tray. It needs airflow. A soft microfibre mat under a wet milk jug will absorb water, but if it stays damp all morning it can smell stale. A ridged silicone mat lets water sit in channels until you tip it away.
For cups, I prefer a small ridged mat rather than a fabric mat. Fabric looks softer, but coffee stains it quickly. If you already care about cup choice and presentation, our reusable coffee cup guide covers the portable side; at home, the cleaner answer is usually a rinseable mat and a separate towel.
Where to Put Trays, Mats and Knock Boxes
Placement matters because coffee mess follows your movement. Put the tray where the mess actually happens, not where it looks neat in a photo.
Start with your workflow
Most home coffee stations follow the same path:
- Grind beans into the portafilter or brewer.
- Tamp, level or prepare the coffee bed.
- Brew the drink.
- Steam or heat milk if needed.
- Knock out grounds and rinse tools.
- Wipe and reset.
The drip tray should sit under steps 3 and 4. The tamping mat should sit at step 2. The knock box should sit between brewing and the sink, not hidden behind the grinder.
If you make mostly filter coffee, your mess points are different. A V60, Kalita or AeroPress setup needs a mat under the kettle and brewer rather than a tamping corner. Our pour over vs French press vs AeroPress guide is useful if your station changes between brew methods.
Leave space for the grinder
The grinder is usually the messiest item, which annoys people because it looks dry. Static throws chaff and fine grounds onto the counter, especially in winter when central heating makes rooms dry. If that is your main problem, read our guide on reducing static in your coffee grinder as well as adding a mat.
Do not cram a grinder, machine, knock box and cup stack onto one tray unless the tray is huge. It makes the whole station harder to clean. A better layout is:
- Machine on the main worktop: keep the built-in drip tray easy to remove.
- Silicone bar mat to one side: use it for cups, milk jugs and wet tools.
- Tamping mat in front of the grinder: keep grounds in one brushable area.
- Knock box near the sink side: reduce the distance travelled with wet pucks.
Watch for steam and cupboard clearance
If your machine sits under wall cabinets, steam and damp can build up on the underside. A tray will not fix that. Pull the machine forward enough that steam rises into open air, especially when steaming milk or running a cleaning cycle.
The Health and Safety Executive’s slips and trips guidance is aimed at workplaces, but the principle applies at home too: wet surfaces become a risk when people do not spot them. In a kitchen, that means avoiding mats that hang over the counter edge or drip onto the floor.
Cleaning Routine That Does Not Become a Chore
The routine has to be simple or it will not happen. The Food Standards Agency’s cleaning guidance is written for food safety, but the same basic idea works for a coffee station: remove residue, wash surfaces, then dry them properly.
Daily reset
After the last coffee of the day, do the small reset:
- Empty the machine drip tray before it looks full.
- Rinse the silicone mat or tray under warm water.
- Wipe the worktop underneath, because moisture can creep below the mat.
- Wash the milk jug, steam wand area and any syrup bottles.
- Dry the mat before putting it back.
That last step is the one people skip. A damp mat under a warm machine can smell musty after a few days. If you only change one habit, dry the mat.
Weekly deeper clean
Once a week, move everything. Not just the cups. Lift the machine if it is light enough, move the grinder, empty the knock box fully, and brush grounds out from under rubber feet.
Use warm water and washing-up liquid for most trays and mats. Avoid scented sprays around grinders and beans because coffee absorbs smells. I use a clean microfibre cloth first, then a dry tea towel. Paper towels work, but they leave lint on black silicone.
If your machine is due a proper clean, pair the worktop clean with the routine in our coffee machine maintenance guide. Doing both together saves you from cleaning the counter, then splashing it again with backflush water ten minutes later.
Monthly check for hidden stains
Once a month, check the underside of mats, the back edge of the tray, and the area around the knock box. Milk residue dries pale and can be hard to see on light worktops. Coffee oils leave a faint tacky feel before they look dirty.
This is also a good time to clean grinder burrs if you have not done it recently. Our grinder burr cleaning guide covers that job in more detail. A clean grinder and a clean counter make the station feel better at the same time.
Product Picks and UK Prices
You do not need a matching accessory set. You need three or four pieces that solve specific problems. Here is where I would spend money.
Budget setup under £25
For a low-cost setup, buy:
- IKEA or Dunelm plastic serving tray: about £4-£8, good under cups or a compact pod machine.
- Amazon UK silicone drying mat: about £8-£12, usually 40-45cm wide.
- Two microfibre cloths from Lakeland or a supermarket: about £4-£7.
This is enough for a pod machine, AeroPress corner or small filter setup. It is less ideal for espresso because the tamping area still needs better support.
Best mid-range setup for espresso
For a Sage Bambino, Gaggia Classic, De’Longhi Dedica or similar home espresso setup, I would buy:
- Rhino Coffee Gear corner tamping mat: about £14-£18 from Coffee Hit or Amazon UK.
- Silicone bar service mat: about £10-£18 from Amazon UK or catering suppliers.
- Stainless-steel knock box: about £18-£30 from The Espresso Shop, Bella Barista or Amazon UK.
- Small stainless tray for milk tools: about £10-£18.
That gives each mess point a home. It also avoids the common mistake of buying one huge tray that looks tidy but becomes a swamp after two flat whites.
Premium tidy setup
If you want the station to look cleaner as well as work better, look at:
- Normcore tamping mat or tamping station: about £22-£45, depending on size.
- Motta stainless-steel knock box: about £30-£45.
- Acaia or Timemore scale tray area: not a product category by itself, but worth keeping dry if you use a scale from our coffee scales guide.
- A narrow stainless hotel tray: often £12-£25 from catering suppliers and easier to clean than decorative trays.
The premium money is mostly about weight, rubber quality and looks. It will not make coffee taste better. It will make the station feel less improvised.
Common Problems and Fixes
Most drip-tray problems are not caused by buying the wrong thing. They come from leaving wet accessories in the wrong place.
The mat slides around
If a silicone mat slides, the worktop is usually damp or oily underneath. Clean and dry the counter first. If it still moves, switch to a heavier bar mat or put the mat where it is not being pushed sideways by a portafilter handle.
Avoid adhesive pads unless the mat is staying there for good. They leave marks, and coffee stations change as soon as you buy a new grinder or machine.
The tray smells stale
A stale smell means trapped moisture, old milk or coffee oils. Wash the tray with warm water and washing-up liquid, rinse well, then dry it upright. If it is fabric, put it through the wash and consider replacing it with silicone.
Milk is the bigger culprit than espresso. A few drops under a jug can smell worse than a whole puddle of black coffee.
Grounds keep spreading beyond the mat
Move the grinder and tamping mat closer together. If you dose from a grinder into a portafilter, use a dosing funnel, usually £8-£20 from Amazon UK or Bella Barista. It catches the sideways spray and stops you brushing half your dose onto the counter.
For single dosing, a quick mist of water on the beans can reduce static, but use a very small amount. You want less spray, not damp beans sitting in the hopper.
The setup looks cluttered
Take one item away before buying another organiser. Most cluttered coffee stations have too many cups, too many bags of beans, or accessories left out because there is no drawer space.
Keep the daily tools out and store the rest:
- Daily: machine, grinder, scales, tamper, milk jug, cloth.
- Nearby drawer: spare baskets, cleaning tablets, blind basket, brush.
- Cupboard: extra beans, descaler, spare filters, travel cups.
That split keeps the coffee area usable without turning it into a display shelf.
What I Would Buy for Most UK Kitchens
For most UK kitchens, I would skip the decorative tray and build a practical three-part setup: a Rhino-style corner tamping mat, a black silicone bar mat, and a stainless knock box. That should cost about £45-£70 in total if you shop around.
My preferred setup
Put the tamping mat directly in front of the grinder. Put the bar mat between the machine and sink side, where wet cups and milk jugs naturally land. Put the knock box beside the bar mat, not behind the machine. Keep one microfibre cloth folded next to the machine and one clean spare in a drawer.
This setup is not glamorous, but it works. It suits the way people actually make coffee at home: slightly rushed, half-awake, and often while someone else wants the kitchen counter back.
Where I would not spend
I would not spend £60 on a branded wooden organiser unless the rest of the station is already solved. Wood looks warm in photos, but it can stain, warp or collect grounds in corners. I would also avoid fabric drying mats for espresso stations. They are fine for mugs, less good around milk and coffee oils.
If the budget is tight, spend first on the tamping mat and the knock box. A cleaner workflow does more than a prettier tray.
Frequently Asked Questions
Do I need a drip tray if my espresso machine already has one? Yes, if you regularly spill water, milk or coffee beside the machine. The built-in tray catches drips under the group head, but it does not protect the surrounding worktop.
What is the best material for a coffee station mat? Silicone is the easiest choice for most homes because it grips well, rinses clean and costs about £8-£18. Stainless steel is tougher but noisier.
How often should I clean a coffee drip tray or mat? Rinse it daily if it gets wet, then do a proper wash once a week. Dry it before replacing it so moisture is not trapped underneath.
Can I use a normal serving tray under a coffee machine? You can, as long as it is heat resistant, flat and large enough. Avoid flimsy trays that flex when you move cups or empty water.
Are expensive tamping mats worth it? A £15-£25 rubber tamping mat is worth buying for espresso. Above that, you are mainly paying for finish, size or a matching tamping station.
What should I buy first for a messy coffee station? Buy a tamping mat first if you make espresso, or a silicone drying mat first if you mostly make filter coffee. Add a knock box when wet grounds become the main mess.