A WDT tool is one of the cheapest espresso upgrades that can make a real difference, but only if your grinder leaves clumps or your shots keep channelling. For a UK home setup, a sensible wdt tool espresso guide starts with technique, not with buying a £90 gadget that looks impressive next to the machine.
In This Article
- What a WDT Tool Actually Does
- Why Espresso Clumps Cause Sour and Bitter Shots
- How to Use a WDT Tool Without Making a Mess
- When WDT Makes the Biggest Difference
- What to Look For in a WDT Tool
- Where WDT Fits Into Your Espresso Routine
- Common WDT Mistakes That Hurt Espresso
- Is a WDT Tool Worth It?
- Frequently Asked Questions
What a WDT Tool Actually Does
WDT stands for Weiss Distribution Technique. In plain English, it means stirring the ground coffee in your portafilter basket with very fine needles before tamping. The aim is to break up clumps, spread the grounds evenly, and give water fewer easy channels through the puck.
The tool itself is basic: a handle with several thin needles, usually around 0.25-0.4mm thick. Some look like a tiny rake. Some have a stand. Some spin. The expensive ones can look like espresso jewellery, which is how you know the hobby has got slightly out of hand.
It is not a tamper
A WDT tool does not compress the coffee. It prepares the grounds before tamping. You still need a proper tamper and a level tamp afterwards. If your puck is uneven after tamping, WDT cannot rescue it on its own.
This is why WDT sits alongside the basics: dose, grind size, distribution, tamp, yield and time. If those words already feel familiar, the espresso dialling-in guide is the natural companion to this article.
It is not only for expensive machines
WDT can help on a Sage Bambino, Gaggia Classic, Rancilio Silvia, Lelit Anna, Profitec Go or a more serious dual-boiler machine. For UK price context, a Sage Bambino is usually about £329-£399, a Gaggia Classic Evo Pro about £399-£449, a Rancilio Silvia about £579-£650, a Lelit Anna roughly £450-£550, and a Profitec Go around £799-£850. The machine matters, but the bigger trigger is how the grinder behaves. A cheaper grinder that spits clumpy coffee into the basket often benefits more from WDT than a premium grinder with fluffy, even output.
That said, do not expect miracles from a pressurised basket. If your machine uses a pressurised portafilter, grind distribution matters less because the basket is already doing some of the pressure work artificially. WDT becomes more useful when you use a standard single-wall basket.
Why Espresso Clumps Cause Sour and Bitter Shots
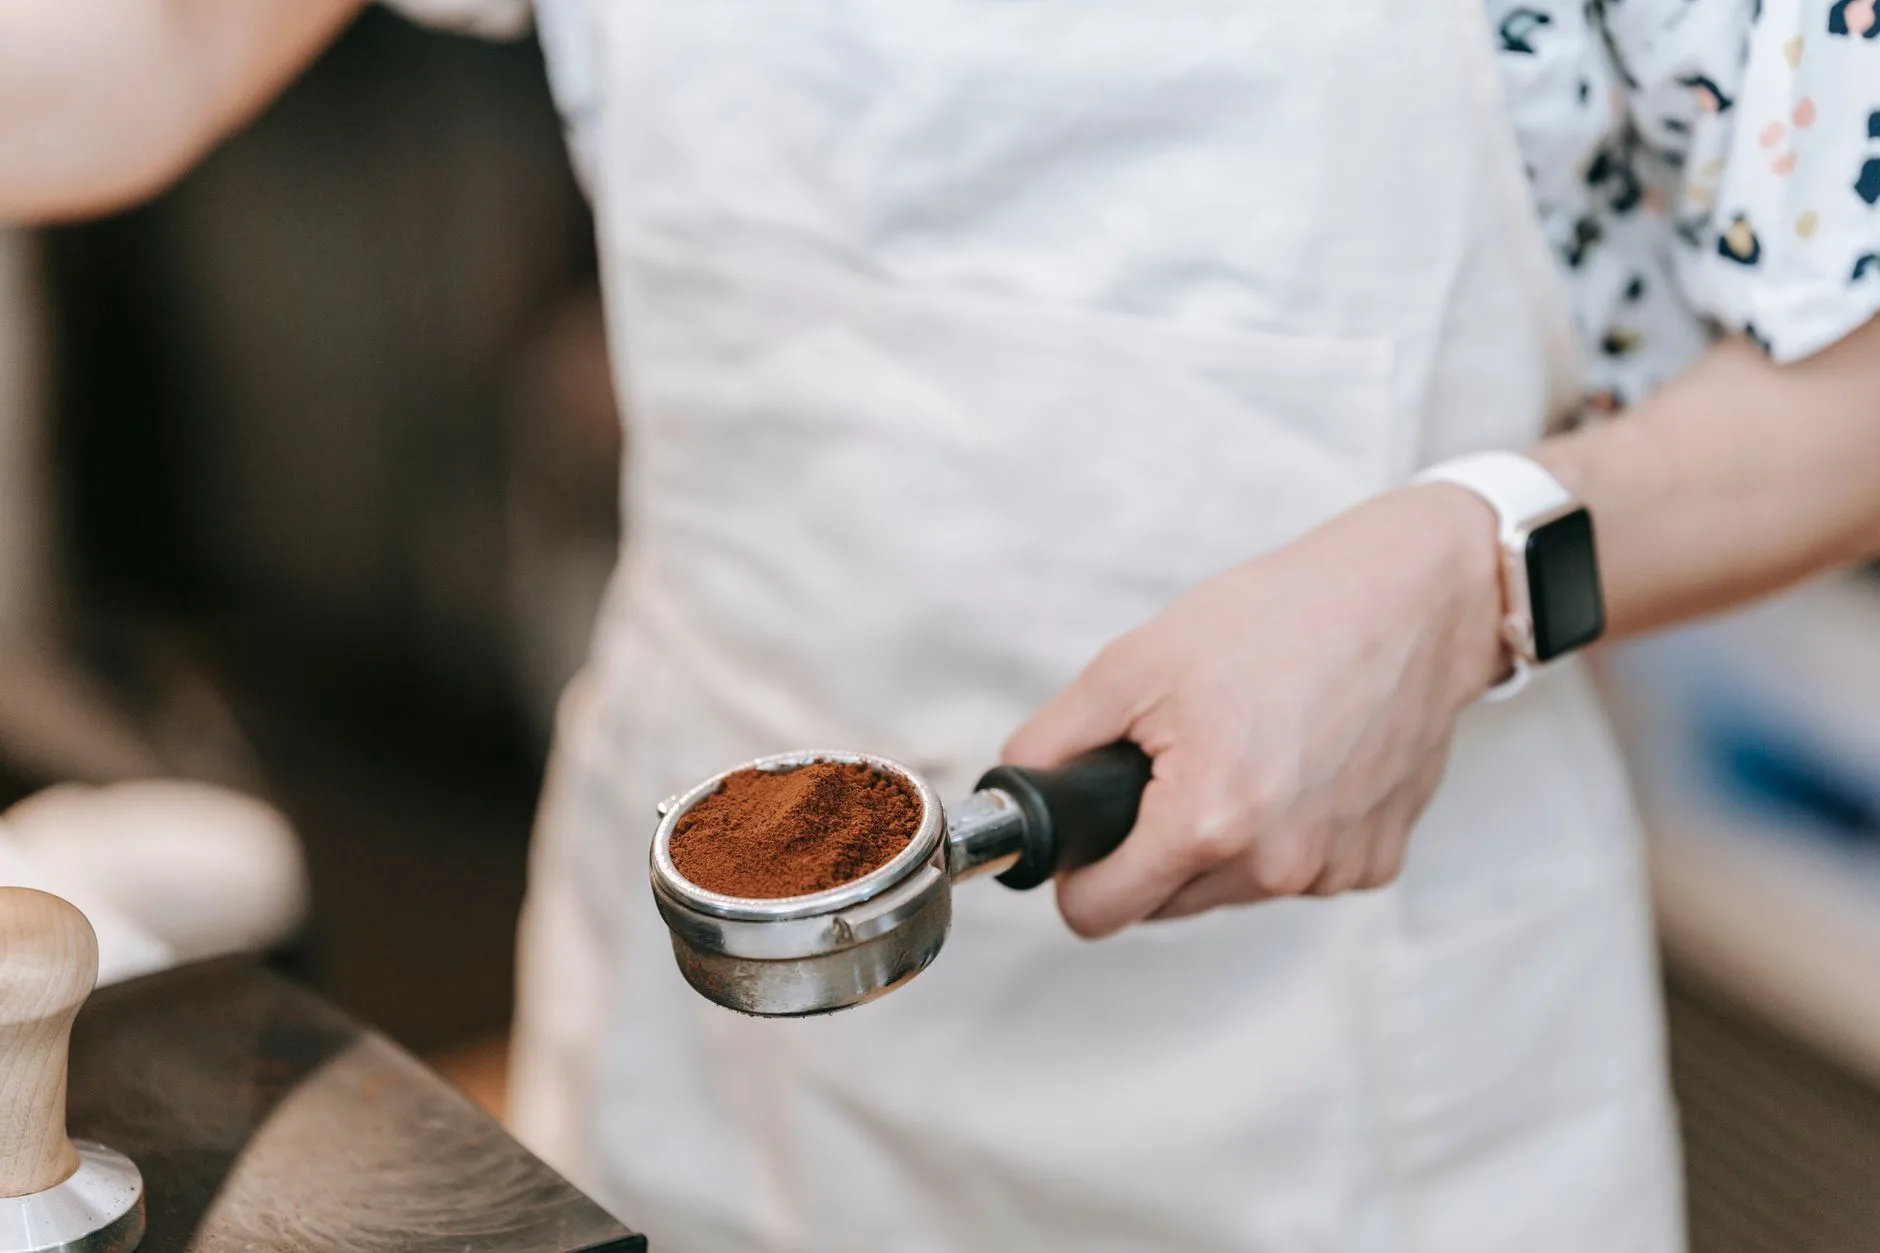
Espresso is unforgiving because water is pushed through a tight bed of finely ground coffee. If some parts of that bed are dense and other parts are loose, water will rush through the easier route. That is channeling.
The Specialty Coffee Association’s recent espresso summary describes a typical modern espresso around an 18-20g dose, roughly 36.5g output, and 25-30 seconds at about 9 bar pressure. That is a tight window. When the coffee bed is uneven, two things can happen in the same shot: some coffee is under-extracted and sour, while another area is overworked and harsh. The cup tastes confused because the puck was confused.
What channeling looks like
With a bottomless portafilter, channeling is easier to spot. You may see:
- Fast pale streams: water has found a weak route through the puck.
- Spraying from the basket: usually a sign of cracks, gaps or poor distribution.
- Uneven first drops: one side starts running before the other.
- Thin body: the shot finishes quickly even though the grind setting seems close.
Without a bottomless portafilter, you judge by taste and timing. A shot that runs in 18 seconds and tastes sharp probably needs a finer grind, better puck prep, or both. A shot that runs in 35 seconds and still tastes hollow may have uneven extraction rather than just being “too slow”.
Clumps are not always visible
Some clumps are obvious little boulders. Others are more subtle: denser pockets in the basket that only show themselves once pressure hits. This is why WDT can help even when the top of the basket looks fine. It works below the surface, not just on the visible top layer.
If your grinder is overdue a clean, fix that first. Old oils and retained grounds can make clumping worse. The guide to cleaning grinder burrs is worth doing before you blame the basket, tamper or machine.
How to Use a WDT Tool Without Making a Mess
The good version of WDT is calm and repeatable. The bad version looks like you are whisking a tiny cake batter and spraying grounds over the counter.
Use a dosing funnel
Buy or use a dosing funnel before you worry about the WDT tool itself. A 54mm or 58mm magnetic funnel usually costs £8-£18 on Amazon UK, Coffee Hit, Bella Barista or The Home Baristas. It sits on top of the portafilter and gives the coffee somewhere to move while you stir.
I would buy the funnel before upgrading from a cheap WDT tool to a fancy one. Without a funnel, even a good tool wastes coffee and makes the routine irritating.
The basic WDT method
Use this as your starting routine:
- Grind into the basket or dosing cup: weigh your dose first, usually 17-19g for many double baskets.
- Add the funnel: make sure it sits securely so grounds cannot spill over the edge.
- Stir deep first: move the needles gently through the full depth of the coffee bed to break clumps.
- Stir shallow second: even out the top layer with smaller circles or short back-and-forth movements.
- Tap once if needed: a light vertical tap can settle loose grounds, but do not slam the portafilter.
- Tamp level: remove the funnel, tamp once, and avoid polishing or twisting hard.
The whole thing should take 10-15 seconds. If WDT adds a minute to every coffee, you are probably overworking it.
How deep should the needles go?
Go deep enough to break clumps near the bottom of the basket, then finish shallow. If you only rake the surface, you are decorating the puck rather than fixing it. If you dig aggressively into the basket every time, you can create uneven density by dragging grounds around too much.
The motion should feel light. Imagine loosening couscous with a fork, not digging a trench.
When WDT Makes the Biggest Difference
WDT is not equally useful for every setup. It shines when the grinder, dose or basket creates uneven distribution.
High-impact situations
You are more likely to notice a difference if:
- Your grinder produces clumps: common with some entry-level espresso grinders and humid kitchens.
- You grind into a dosing cup: transferring grounds can create uneven piles in the basket.
- You use a bottomless portafilter: channeling is easier to see and fix.
- You use lighter roasts: they can be less forgiving and need more consistent extraction.
- Your basket is deep or high-dose: more coffee means more chance of uneven density.
In my experience, WDT is most noticeable when you are already close to the right grind setting but the shot still flips between good and annoying. It will not fix a wildly wrong grind, stale beans, or a machine that cannot hold temperature.
Low-impact situations
WDT may do very little if your grinder already produces fluffy grounds straight into the centre of the basket, your shots are consistent, and the coffee tastes good. If the problem is sour espresso from too coarse a grind, fix the grind first. If the problem is bitterness from a 45-second shot, WDT is not the main lever.
This is also why WDT should not be the first accessory for everyone. A decent scale is more useful. A proper tamper is more useful if your current one is plastic. A grinder that can make small espresso adjustments matters more than any needle tool. The espresso vs filter grinder guide explains that bigger priority.
What to Look For in a WDT Tool
This is not a full product ranking, but there are clear things to check before buying. The best WDT tool is not always the most expensive one; it is the one you will use every morning without faff.
Needle thickness matters
Look for thin needles, usually 0.25-0.4mm. Thick needles can move coffee around in chunks rather than gently breaking clumps. Very thin needles are more delicate but tend to distribute better.
Cheap no-name WDT tools on Amazon UK or Etsy often cost £5-£12 and can work well if the needles are thin and replaceable. A 3D-printed holder with acupuncture-style needles is not glamorous, but it is often enough.
Handle and stand matter more than looks
A tool with a stable stand is nicer on a coffee bar because the needles stay protected and you do not leave sharp points loose in a drawer. Mid-range tools such as the Normcore WDT tool are usually around £18-£30 from UK marketplace sellers or coffee accessory shops, depending on version and availability. MHW-3BOMBER adjustable WDT tools are commonly around £21.99-£25 on Amazon UK.
Those are sensible prices. Once a WDT tool gets past £40, I want a clear reason: better workflow, better stand, replaceable needles, or an integrated levelling pattern that actually saves time.
Expensive spinning tools are optional
Automatic or guided WDT tools, including high-end distributor-style designs, can cost well over £100. DUOMO The Eight is listed at $200 by DUOMO, roughly £155-£165 before UK shipping, import costs or retailer markup. It is clever, but that is a lot of money for puck prep unless espresso is your main hobby.
If you have a £1,500 grinder and a serious machine, fair enough. If you have a Sage Bambino and a hand grinder, spend the money on better beans, a scale or a grinder upgrade first. The guide to how much to spend on a coffee grinder gives better return-on-investment context.
Where WDT Fits Into Your Espresso Routine
WDT works best when the rest of the routine is stable. If you change dose, grind, beans, basket, tamp and WDT all at once, you will not know what helped.
A stable routine beats constant tweaking
Use one baseline recipe for a few days. For example:
- Dose: 18g in the basket.
- Yield: 36g out.
- Time: around 25-30 seconds from pump start, depending on your machine and taste.
- Puck prep: WDT, one light tap, level tamp.
Then change one thing at a time. If the shot runs too fast, grind finer. If it runs too slow, grind coarser. If timing looks right but flavour swings from shot to shot, WDT and tamp consistency are more likely suspects.
The SCA espresso article is useful here because it shows that commercial baristas often think in dose, yield, pressure and time, not just “make it stronger”. Home espresso gets easier when you use the same variables.
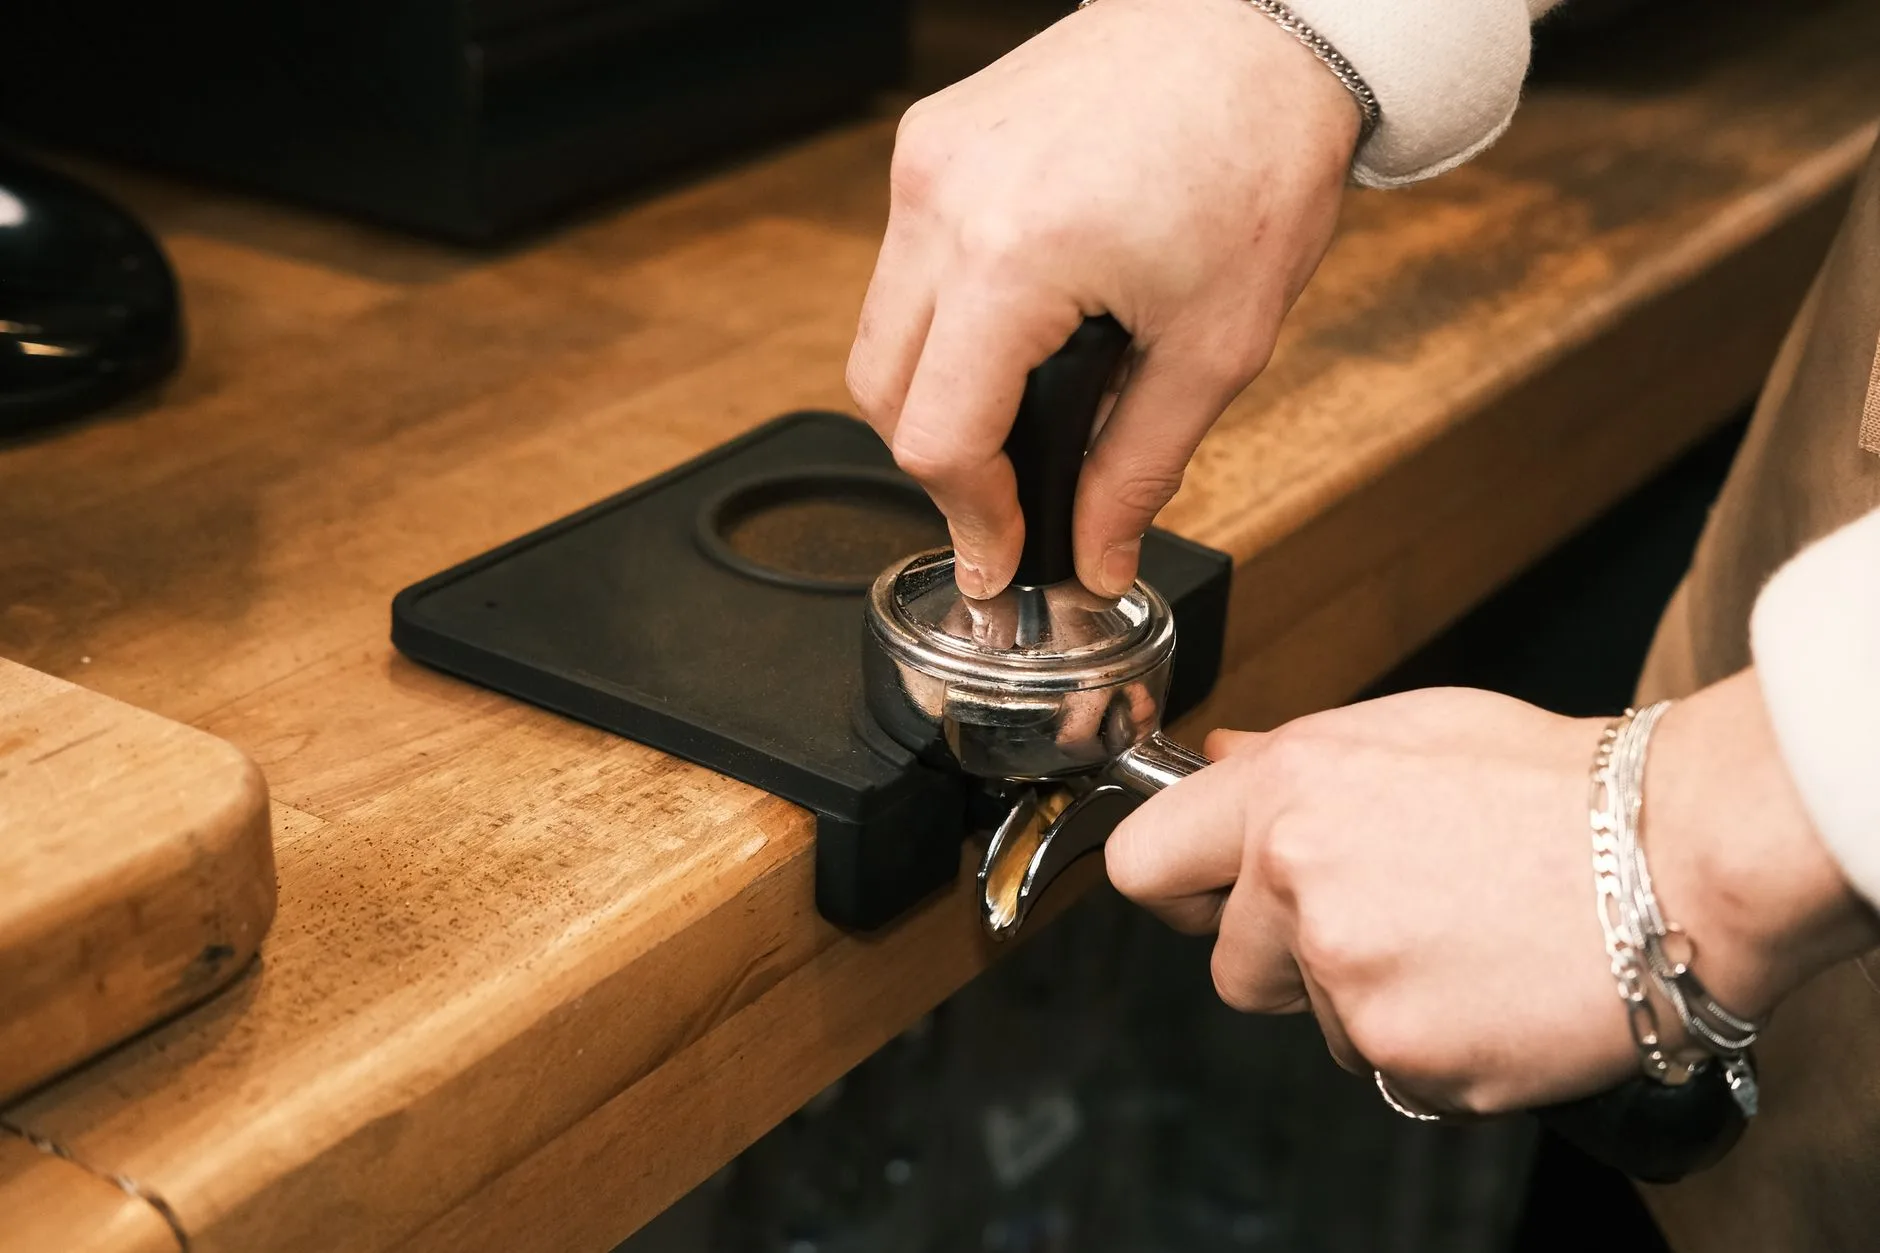
WDT sits before tamping
The order should be grind, distribute, tamp, brew. Do not tamp and then use WDT. That breaks the puck you just compressed. Do not WDT after adding a puck screen either; the puck screen goes on after tamping.
If you use a levelling distributor, WDT usually comes before that too. Personally, I would rather WDT lightly and tamp well than spin a heavy distributor aggressively across the top. A distributor can make the surface look tidy while doing little below the surface.
For tamp choice and fit, the coffee tamper guide is still relevant. A good WDT routine followed by a poor, tilted tamp is a very elegant way to waste 18g of coffee.
Common WDT Mistakes That Hurt Espresso
The tool is simple, which makes the mistakes easy to miss.
Using needles that are too thick
Thick needles can plough through the grounds and create channels of their own. If your WDT tool looks more like a cocktail fork than a fine rake, it is probably too chunky. Replaceable fine needles are better than a fancy handle with poor pins.
Stirring only the top
Surface raking makes the basket look neat, but the lower clumps remain. Start deep, finish shallow. That is the whole point.
Over-stirring every shot
More WDT is not always better. If you stir for 45 seconds, you may create new density problems by moving grounds around too much. Ten to fifteen seconds is a good target for most home routines.
Ignoring the dose
If your basket is overfilled, WDT will feel messy because there is nowhere for the grounds to move. Use the right dose for the basket. A nominal 18g basket might suit 17g of a darker roast or 19g of a lighter roast depending on density, but cramming coffee to the rim makes puck prep harder.
Blaming WDT for grinder problems
WDT helps distribution. It does not make a poor grinder stepless, reduce retention, or sharpen burrs. If your shots swing because the grinder cannot make fine adjustments, look at the grinder first. You may also want the guide to manual vs electric coffee grinders if you are choosing a better route.
Is a WDT Tool Worth It?
Yes, for most home espresso drinkers using a standard basket and a capable grinder, a WDT tool is worth trying. It is cheap, quick, and easy to remove from the routine if it does nothing for your setup.
My favourite value route is boring: buy a £8-£15 fine-needle WDT tool and a £8-£18 dosing funnel. Use it for two weeks with the same beans and recipe. If your shots become more consistent and taste cleaner, keep it. If nothing changes, you have learned something for less than the price of a bag of speciality beans.
Who should buy one first?
Buy one if you:
- Use a bottomless portafilter: especially if you see spraying or uneven streams.
- Get clumpy grounds: common with some grinders and darker roasted beans.
- Already weigh shots: WDT works best when dose and yield are controlled.
- Want a cheap consistency upgrade: it is low-risk compared with changing machine or grinder.
Who can skip it?
Skip it for now if you use pressurised baskets, never weigh your dose, or are still using pre-ground coffee. Those are bigger issues. A WDT tool cannot create fresh grind quality from stale coffee, and it cannot fix a recipe you are not measuring.
If you are still troubleshooting basic shot problems, start with the common espresso problems guide. WDT is useful, but it is one lever, not the whole machine.
Frequently Asked Questions
What does WDT mean in espresso? WDT means Weiss Distribution Technique. It uses fine needles to break up clumps and spread ground coffee evenly in the portafilter before tamping.
Do WDT tools really improve espresso? They can improve consistency when your grinder produces clumps or your shots channel. They will not fix stale beans, a poor grind setting or a pressurised basket.
How much should I spend on a WDT tool in the UK? Most home users should spend about £8-£30. Cheap fine-needle tools can work well; expensive spinning tools are optional.
Do I need a dosing funnel for WDT? A dosing funnel is strongly recommended. It usually costs £8-£18 and stops grounds spilling while you stir the basket.
Should WDT happen before or after tamping? Always use WDT before tamping. If you stir after tamping, you break the compressed puck and make channeling more likely.
Can I use a toothpick instead of a WDT tool? A toothpick is usually too thick. Fine needles around 0.25-0.4mm distribute grounds more gently and are less likely to create new channels.