Calibrating a coffee grinder is about giving yourself a reliable starting point, not finding one magic number that works for every bean. This calibrate coffee grinder guide is for the moment when your old “setting 12 for espresso” no longer behaves like setting 12, or when a new grinder arrives and the numbers on the dial mean nothing yet. Once the grinder has a clean zero point, a small settings map and a written routine, chasing flavour gets much less annoying.
In This Article
- What Calibration Actually Means
- Before You Touch the Grinder
- Find Your Grinder’s True Starting Point
- Calibrate Coffee Grinder Guide: Build a Repeatable Setting Map
- Calibrating for Espresso Without Chasing Your Tail
- Common Calibration Problems and Fixes
- What to Buy If Your Grinder Will Not Calibrate Well
- Frequently Asked Questions
What Calibration Actually Means
Grinder calibration means aligning the grinder’s adjustment system with a known reference point so your settings become repeatable. It does not mean the grinder will make every coffee taste perfect, and it does not replace dialling in. It just means setting 4 today behaves like setting 4 tomorrow.
Most home grinders have one of three adjustment styles:
- Stepped dials: numbered clicks, common on entry and mid-range grinders such as the Baratza Encore ESP, Sage Dose Control Pro and Wilfa Uniform.
- Stepless collars: smooth adjustment with no fixed clicks, common on espresso-focused grinders such as the Niche Zero, DF64 and Eureka Mignon range.
- Internal plus external adjustment: a main dial plus a secondary micro-adjuster, as on the Fellow Opus.
The problem is that the numbers are only a language inside that grinder. Setting 10 on a Baratza is not setting 10 on a Fellow, and setting 10 on your grinder may not match another owner’s grinder after burr wear, cleaning, burr seating or factory tolerance. Calibration gives you a translation layer.
For filter coffee, calibration is usually about repeatable brew time and taste. For espresso, it is more sensitive because tiny grind changes can shift a shot from gushing to choking. That is why the Baratza Encore ESP manual separates espresso settings from filter settings; espresso needs finer control than cafetiere or batch brew.
The useful aim is simple:
- Know where the burrs touch or nearly touch. This gives you a true fine-end reference.
- Know where your common brew methods sit. Espresso, AeroPress, V60, Chemex and cafetiere should each have a rough range.
- Know when the grinder is drifting. If your old setting suddenly behaves differently, you can work out whether the bean, burrs, cleaning or calibration changed.
I would calibrate a new grinder during the first week, after the first proper clean, and any time the adjustment collar, burr carrier or internal setting has been moved. You do not need to recalibrate every Saturday morning. That way lies madness, and probably worse coffee.
Before You Touch the Grinder
Most calibration problems are not calibration problems. They are stale coffee, retained grounds, dirty burrs, inconsistent dosing or a recipe that changed without anyone admitting it.
Clean first, then calibrate
Start with a clean grinder. Unplug it, empty the hopper, run through any remaining beans, then remove the hopper and upper burr if your grinder allows it. Brush loose grounds from the burr chamber and chute. Do not use water unless the manual says you can remove and wash that part.
If you have not cleaned the grinder for months, old oils and compacted fines can make the grinder seem badly calibrated. I would rather spend ten minutes cleaning than waste £12 of good beans trying to tune around stale residue. Our guide to cleaning grinder burrs goes deeper into the safe cleaning routine.
Grinder cleaning pellets such as Urnex Grindz cost about £11-£15 for a small tub in the UK. They are useful for oily coffee residue, but they are not a substitute for brushing out the chamber. A cheap soft brush, wooden cocktail stick and microfibre cloth will do most of the work.
Use one coffee and one dose
Calibration needs a fixed test coffee. Pick a medium roast you know, ideally roasted in the past two to four weeks. Very light roasts can make some grinders sound and behave harsher at the fine end, while oily dark roasts can clog burrs and chutes.
Use the same dose for each test:
- Espresso: 18g in a standard 58mm basket, or the dose your basket is designed for.
- V60: 15g coffee to 250g water is a tidy test recipe.
- AeroPress: 14-16g coffee, depending on your normal recipe.
- Cafetiere: 30g coffee to 500g water gives enough volume to judge texture and sludge.
A 0.1g coffee scale is not optional here. Budget options from Timemore, Weightman or MiiCoffee are usually about £15-£35 on Amazon UK. Acaia and Felicita scales are nicer at £120-£250, but you do not need those to calibrate a grinder at home.
Write settings down
Use a notebook, Notes app or a taped card inside the cupboard. The format can be dull:
- Date: when you calibrated.
- Grinder state: clean burrs, burrs recently changed, new grinder, after moving internal ring.
- Bean: roaster, coffee name, roast date and roast level.
- Setting: dial number, inner ring position or collar mark.
- Result: espresso time, filter drawdown, taste and any visible problem.
This is the least glamorous part of the job and the one that saves the most time. Without notes, you are just turning the dial and hoping your memory is kinder than it usually is. Treat this calibrate coffee grinder guide as a settings log as much as a one-off setup routine.
Find Your Grinder’s True Starting Point
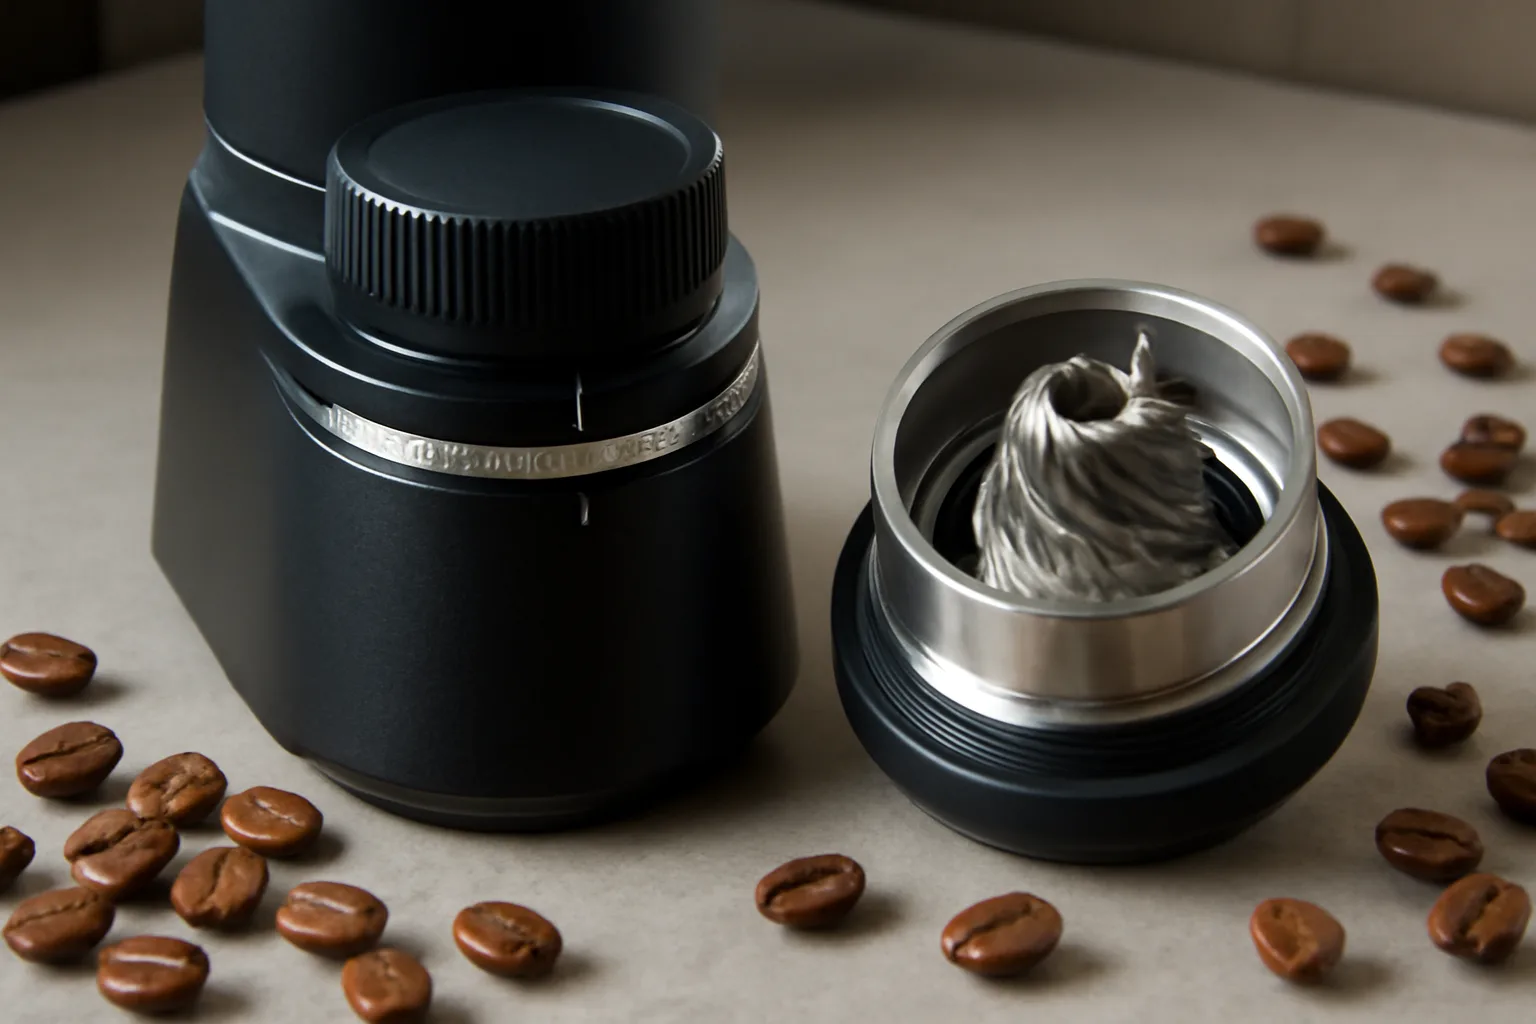
The starting point is the finest safe reference your grinder can reach. On some grinders that is where the burrs lightly touch. On others, especially grinders with plastic carriers or clear manufacturer warnings, it is the finest setting before contact.
The burr-touch method
Only use this if the manual or manufacturer guidance allows it. Empty the grinder, remove beans from the burrs, and turn the adjustment finer while the grinder is running or as instructed by the manufacturer. Some grinders should only be adjusted while running; others tolerate adjustment when still. Follow the manual, not a forum comment from 2012.
Listen for a faint chirp or tick as the burrs begin to touch, then back off immediately. That point is not your brewing setting. It is your reference mark. On a stepless grinder, mark it with a small removable dot or note the collar position. On a stepped grinder, note the click number where contact starts and back off to the first safe click.
Do not grind coffee at burr touch. Metal-on-metal contact can damage burrs, and burrs are not cheap. A pair of replacement burrs can cost roughly £25-£60 for common home grinders, and much more for larger flat-burr machines.
The no-touch method
Some grinders do not make a clear chirp, or the manufacturer does not want you seeking burr contact. In that case, use a practical no-touch reference:
- Clean and reassemble the grinder. Make sure the burr carrier is seated correctly.
- Set the grinder to its finest recommended usable range. For espresso grinders, use the fine end of the espresso range; for filter grinders, use the fine end of the filter range.
- Grind 5g of beans. This purges stale grounds and confirms the burrs are moving freely.
- Inspect the grind. If it is powdery and clumping, you are near the fine end. If it still looks like coarse sand, something is off.
- Back off to a safe start point. Record that setting as your fine reference, not as a recipe.
This is less precise than burr touch, but it is safer for grinders with awkward adjustment systems. For a Fellow Opus, for example, the external dial and inner ring can confuse people. I would record both positions rather than pretending the outer number tells the full story.
Check burr seating
If the grinder suddenly cannot grind fine enough after cleaning, check the burr carrier. It may be sitting one notch out, cross-threaded, or not fully locked. This is common after a first deep clean. I have done it, stared at the grinder like it betrayed me, then noticed the burr was not seated properly.
Run a small dose through after reassembly. If the sound is odd, the grind looks wildly uneven, or the adjustment range feels wrong, stop and re-check the burr assembly before putting more coffee through it.
Calibrate Coffee Grinder Guide: Build a Repeatable Setting Map
A calibrated grinder still needs a settings map. This is not a replacement for tasting; it is a shortcut that stops every brew method starting from guesswork.
Make a simple range table
Do not try to map every number. Pick the brew methods you actually use and find a sensible starting range for each. A home map might look like this:
| Brew method | Starting texture | What to record |
|---|---|---|
| Espresso | Fine table salt | Dose, yield, shot time and taste |
| AeroPress | Fine to medium sand | Brew time, pressure feel and bitterness |
| V60 | Medium sand | Drawdown time and clarity |
| Chemex | Medium-coarse | Drawdown time and whether it stalls |
| Cafetiere | Coarse breadcrumbs | Sludge, body and bitterness |
The Specialty Coffee Association keeps industry standards and technical references on its coffee standards page, but at home you do not need lab-grade particle analysis. You need your V60 to stop stalling, your espresso to stop gushing, and your cafetiere to stop pouring mud into the cup.
Use taste and time together
Time alone can mislead. A V60 that drains in 2 minutes might be under-extracted and sharp, or it might be fine for a low-density coffee and fast pour. An espresso shot that runs in 32 seconds might taste balanced or harsh. Calibration gives you the repeatable setting; tasting tells you where to move next.
Use this rough rule:
- Sour, thin, fast: go finer or increase contact time.
- Bitter, dry, slow: go coarser or reduce contact time.
- Muddy cafetiere: go coarser and pour more gently.
- Hollow filter coffee: check dose and water before blaming the grinder.
If you need a broader texture guide, pair this with our article on coffee grind sizes explained. The calibration job here is to make those textures repeatable on your machine.
Keep retention in mind
Some grinders retain more coffee than others. If you change from cafetiere coarse to espresso fine, the first gram or two may be a mix of old and new grind sizes. Single-dose grinders reduce this problem, but they do not remove it completely.
For calibration tests, purge 2-5g when changing setting ranges. Yes, it feels wasteful. Wasting a few grams is cheaper than making decisions from contaminated grounds. A 250g bag of good UK-roasted beans is often £8-£14, so a careful calibration session might cost £2-£4 in beans. That is still cheaper than buying a new grinder because you never cleaned the old one.
Calibrating for Espresso Without Chasing Your Tail
Espresso is where grinder calibration becomes useful and dangerous. Useful because small movements matter. Dangerous because it is easy to change five variables at once and learn nothing.
Separate calibration from dialling in
Calibration sets the grinder’s reference. Dialling in adjusts a recipe for a specific coffee. Keep those separate.
For an espresso test:
- Pick the basket dose. Use 18g if your basket is happiest there.
- Choose a starting yield. A 1:2 ratio, such as 18g in and 36g out, is a sensible baseline.
- Keep puck prep consistent. Same distribution, same tamp, same basket, same machine temperature routine.
- Change grind only. Move finer if the shot gushes and tastes sharp; move coarser if it chokes or tastes harsh.
- Record the setting. Note the bean, roast date, dose, yield, time and taste.
That is enough for calibration. Our separate espresso dial-in guide is the better place for the full shot-by-shot recipe work.
Do not overreact to one shot
One bad shot does not prove the grinder moved. Channeling, clumpy grounds, a wet basket, stale beans or rushed tamping can all make a shot misbehave. If the next shot behaves normally, your calibration is probably fine.
I use two-shot confirmation before making a big calibration judgement. If two shots at the same setting gush, go finer. If two shots choke, go coarser. If one gushes and one chokes, the grinder may not be the main issue. Look at distribution, tamping and basket fill.
This is where tools help, but only up to a point. A WDT tool costs about £5-£20. A calibrated tamper can be £25-£80. Distribution tools can range from £15 to well over £100. They make puck prep more repeatable, but they cannot rescue a grinder that cannot hold a fine setting. Our guide to espresso distribution tools covers where those bits are worth buying.
Respect stepped grinders
Stepped grinders can be awkward for espresso because one click may be too coarse and the next too fine. The Baratza Encore ESP, for example, improves this by giving the espresso range smaller steps than the filter range. Cheaper all-purpose grinders can be much more frustrating.
If your grinder has big steps, you can sometimes work around it by changing dose slightly. If setting 6 is too fast and setting 5 is too slow, try setting 6 with an extra 0.5g in the basket, or setting 5 with 0.5g less. That is not perfect, but it can rescue a drinkable shot.
Do not spend months fighting a grinder that was never built for espresso. If you make espresso most days, the grinder matters more than the machine once the machine is decent.
Common Calibration Problems and Fixes
Calibration issues tend to show up as repeatable annoyances. The good news is that most have boring causes.
The grinder will not go fine enough
First, clean it. Then check burr seating. Then check whether the burrs are worn. Burrs normally last a long time at home, but they are not immortal. If the grinder has handled years of daily espresso, worn burrs can make the fine end less useful. Our guide to how long grinder burrs last covers the signs in more detail.
If it still will not go fine enough, look for an internal calibration adjustment. Some grinders let you shift the whole range finer or coarser. Do this carefully and record the change, because every old setting in your notebook now needs translating.
The settings drift
Drift can mean the collar is loose, the burr carrier is not locked, the grinder vibrates during use, or the beans are changing as they age. Espresso settings often need small changes as beans rest after roasting. That is not a fault.
If the dial physically moves during grinding, that is a grinder problem. If the dial stays put but the coffee needs a slightly finer setting after a week, that is normal bean ageing.
Static makes calibration messy
Static makes grounds cling to the chute and dosing cup, which ruins repeatability. It is worse in dry kitchens and with some grinders. The Ross Droplet Technique, where you add a tiny mist of water to beans before grinding, can help, but do not soak beans and do not use it if your grinder’s manual warns against moisture.
For UK homes in winter, static can be comically irritating. If grounds spray everywhere, read our guide to reducing static in your coffee grinder before blaming the calibration.
The grinder changes after cleaning
This is common. Cleaning removes retained fines and old oils, so the first few shots can behave differently. After a deep clean, I run 10-20g of beans through before making a calibration judgement. It settles the burr chamber and gives you a more honest result.
If the change is huge, the burr carrier is probably seated differently from before. Take it apart, breathe, re-seat it, and try again. No judgement. Coffee gear has a talent for making sensible adults look confused in their own kitchen.
What to Buy If Your Grinder Will Not Calibrate Well
Do not upgrade just because one bag of beans is awkward. Upgrade when the grinder cannot hold a repeatable setting, cannot grind fine enough for your brew method, or forces you into silly workarounds every morning.
Cheap fixes before a new grinder
Try these first:
- Cleaning brush: £3-£8 from Amazon UK or a coffee retailer.
- 0.1g scale: £15-£35 for a basic model; Timemore Black Mirror starts around £55-£75.
- Replacement burrs: roughly £25-£60 for many home grinders, if parts are available.
- Dosing cup or bellows: £10-£30 if retention is the main frustration.
If the grinder itself is fundamentally inconsistent, accessories are just nicer ways to suffer.
Sensible UK grinder upgrade bands
For filter coffee, a Timemore C2 or C3 hand grinder at about £55-£85 is a big jump from blade grinders and cheap ceramic burr mills. The Wilfa Svart often sits around £90-£130 and is still a sensible electric filter grinder when discounted. For espresso, I would not expect miracles under £100.
For mixed espresso and filter use, the Baratza Encore ESP usually sits around £170-£200 in the UK, while the Fellow Opus is often about £190-£220 depending on retailer. Both are more calibration-friendly than a generic £60 electric burr grinder, though neither is as slick as a dedicated premium espresso grinder.
At the serious home espresso end, common options include the DF54 around £220-£260, DF64 around £350-£450, Eureka Mignon models around £300-£500, and the Niche Zero around £499-£550 when available. That is real money, so only go there if espresso is a daily habit and your current grinder is the bottleneck. Our Niche Zero vs DF64 vs Eureka Mignon comparison is the better next read if you are choosing between those.
My practical cut-off
If you mostly brew cafetiere, AeroPress and V60, I would calibrate what you have, buy a decent scale, and only upgrade if grind consistency is obviously holding you back. If you make espresso, I would be less patient. A grinder that cannot make small repeatable changes will waste beans, milk and time.
The boring answer is the honest one: calibration makes a good grinder easier to live with. It does not turn a poor grinder into a great one.
Frequently Asked Questions
How often should I calibrate my coffee grinder? Calibrate a new grinder, after a deep clean, after moving burrs or internal adjustment parts, and when settings stop behaving as expected. You do not need to recalibrate every week.
Is calibration the same as dialling in espresso? No. Calibration gives the grinder a reliable reference point. Dialling in adjusts dose, yield, time and grind for one coffee and one recipe.
Should burrs touch when calibrating a grinder? Only if the manufacturer allows that method. Some grinders use a light burr chirp as a reference, but others should be calibrated without seeking contact.
Why does my grinder setting change after cleaning? Cleaning removes retained grounds and may slightly change how the burr carrier seats. Run a small amount of coffee through, then check that the burr assembly is properly locked in place.
Can I calibrate a cheap blade grinder? Not in the useful sense. Blade grinders chop unevenly and have no real grind setting. You can control time, but you cannot create a repeatable burr-style calibration map.
What is the cheapest worthwhile upgrade for better calibration? A 0.1g scale is usually the first buy at about £15-£35. If the grinder itself is poor, a Timemore hand grinder or Baratza Encore ESP-style burr grinder is the more meaningful upgrade.