Adjusting a coffee grinder is less about chasing the “right” number and more about making one controlled change when the cup tells you to. If you want to adjust coffee grinder settings properly, keep the dose, water, brew time and recipe steady first. The grinder dial should be your steering wheel, not a panic button.
In This Article
- Quick Adjustment Rules Before You Touch the Dial
- How to Adjust Coffee Grinder Settings by Taste
- Espresso Adjustments: Smaller Moves, Bigger Consequences
- Filter, AeroPress and Cafetiere Adjustments
- When the Grinder Is the Problem, Not the Setting
- A Simple Reset Routine When You Get Lost
- Frequently Asked Questions
Quick Adjustment Rules Before You Touch the Dial
The biggest mistake is moving the grinder every time a cup tastes a bit off. Coffee changes from bean to bean, and even the same bag changes as it ages, but you need a stable baseline before the dial means anything.
Keep the recipe still
Before you adjust the grinder, lock down the parts of the brew you can control:
- Dose: use the same coffee weight each time, such as 18g for espresso or 30g for a 500ml filter brew.
- Water: keep the brew water weight steady. A £15-£35 set of coffee scales from Amazon UK, Hario, Timemore or Felicita is a better first buy than guessing with scoops.
- Time: track the brew time, even if you only use your phone timer.
- Beans: do not compare a fresh light roast with a two-month-old dark roast and blame the grinder for everything.
If you change dose, grind and brew time together, you have no idea which change helped. I like writing the setting on the coffee bag with masking tape: grinder number, dose, brew time and one blunt tasting note. “Sour, thin, 2 notches finer” is more useful than a full notebook of coffee poetry.
Move in sensible steps
Every grinder has its own scale. A Baratza, Sage, Wilfa, Niche, Eureka and Timemore setting number will not translate neatly between machines. That is why our coffee grind sizes guide is useful for texture, but your own grinder still needs tasting and timing.
For stepped grinders, move one click at a time for espresso and two or three clicks for filter. For stepless espresso grinders, make tiny movements: a few millimetres on the collar can change a shot more than a full number does on a basic filter grinder.
Purge after changing
Most grinders keep a little coffee inside. If you move from coarse to fine and brew the first dose immediately, some of the old grind may still be in the chute. That makes the cup muddy and confusing.
For home use, a small purge is enough:
- Espresso: purge 1-2g after a fine adjustment if your grinder retains coffee.
- Filter: purge a teaspoon of coffee after a large setting change.
- Single dosing: use bellows only if your grinder is designed for them; cheap aftermarket bellows cost about £15-£30 but can blow fines everywhere.
If retention is a recurring problem, read the single dose grinding guide and the piece on reducing static in your coffee grinder. Both affect how repeatable your grinder feels.
How to Adjust Coffee Grinder Settings by Taste
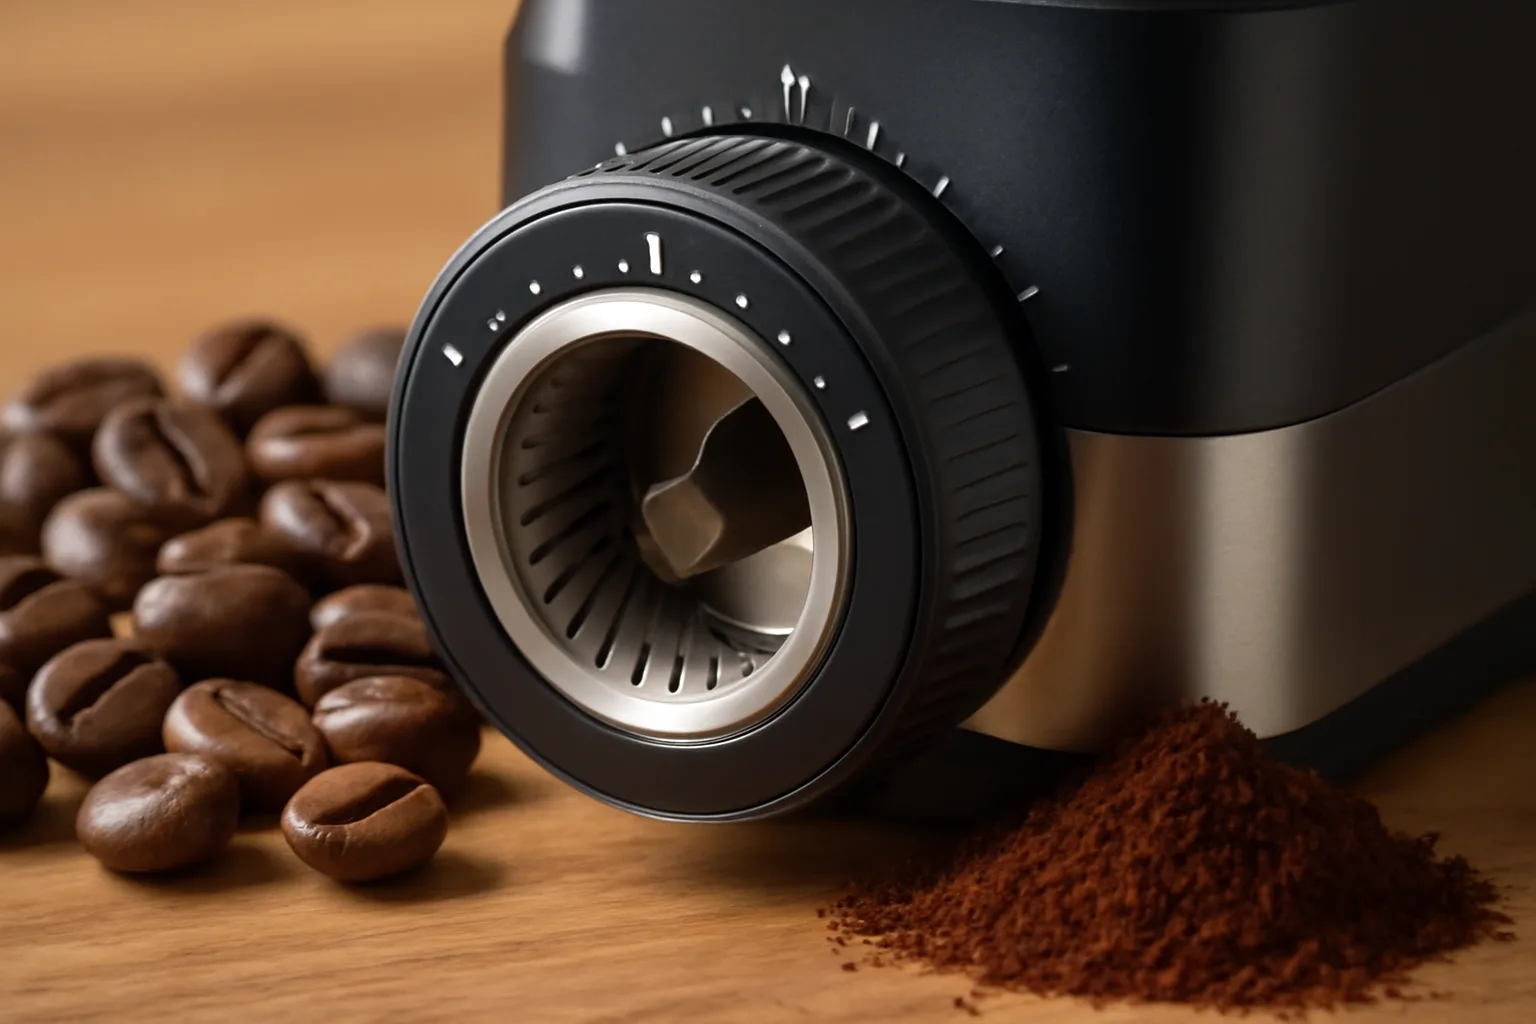
The simplest way to adjust coffee grinder settings is to let taste decide direction. Timing is useful, but taste is the final judge. A shot that runs in 28 seconds can still taste hollow, and a filter brew can hit the expected time while tasting harsh because the pour pattern or coffee bed was uneven.
If the coffee is sour, sharp or thin
Sourness usually means the coffee has not extracted enough. The water has not pulled enough soluble flavour from the grounds, so the cup tastes bright in the wrong way: lemon pith, underripe fruit, dry acidity, or a hollow finish.
Move the grinder finer. For espresso, go one small step finer and keep the dose the same. For pour-over, move a little finer and watch whether the drawdown becomes slow or sludgy. For cafetiere, do not jump straight to fine espresso-like grounds; it will push silt into the cup.
A useful test is the finish. Good acidity has sweetness behind it. Bad sourness disappears quickly and leaves the cup feeling empty. With a washed Ethiopian filter coffee, I might accept more brightness; with a chocolatey Brazilian espresso blend, sourness usually means the grind is too coarse or the shot is running too fast.
If the coffee is bitter, dry or harsh
Bitterness can come from over-extraction, stale beans, too-hot water, dark roast coffee or a dirty machine. Grinder setting is still the first easy lever.
Move coarser. On espresso, one click coarser can turn a harsh, choking 40-second shot into a sweeter 29-second one. On filter, coarser grinding reduces the fine particles that block the paper and over-extract at the end of the brew.
Do not confuse roast bitterness with grind bitterness. A dark supermarket espresso bean may taste roasty even at the best setting. In that case, changing the grinder will tidy the cup, not turn it into a floral light roast. If you are buying beans under £10 per kg from a supermarket, the grinder still matters, but the ceiling is lower than with a £9-£14 250g bag from a UK roaster.
If the coffee is muddy but also weak
Muddy and weak is the annoying one. It often means uneven grinding rather than a single wrong setting. You get fines that over-extract and boulders that under-extract in the same brew.
Try these in order:
- Clean the burrs: stale oils and compacted grounds make adjustment less predictable. Grinder cleaning tablets cost about £6-£12, and a small brush is usually under £5.
- Check the beans: very oily dark beans can clog some domestic grinders quickly.
- Use a more consistent dose: weighing beans before grinding often helps more than moving the dial again.
- Accept the grinder’s limit: a £40 blade grinder will not behave like a £135 Wilfa Svart Aroma or a £154.95 Baratza Encore ESP from Coffee Hit.
The Specialty Coffee Association standards are built around consistency and measurable brewing quality, which is the point here: grinder adjustment works best when the rest of the process is repeatable.
Espresso Adjustments: Smaller Moves, Bigger Consequences
Espresso is the least forgiving brew method because the grind is fine, the pressure is high and the brew window is short. A tiny adjustment changes flow, texture and flavour quickly.
Start with a normal shot window
For a typical home espresso recipe, start around 18g in and 36g out. If your shot pours in 15 seconds and tastes sour, go finer. If it chokes, drips for 45 seconds and tastes bitter or woody, go coarser.
That does not mean every good espresso must be exactly 18g to 36g in 30 seconds. It means you need a sensible starting point. Once the shot tastes close, small ratio changes can fine-tune it. If it is miles off, adjust the grinder first.
There is a separate full guide to dialling in espresso, so keep this article’s job narrower: use grinder movement to fix flow and taste before you start changing everything else.
Make espresso changes one at a time
Espresso grinders vary a lot. The Sage Smart Grinder Pro sits around £189.95 at Currys when not heavily discounted and gives broad numbered steps. The Baratza Encore ESP is often around £154.95 at Coffee Hit and has a finer espresso range than the older Encore. A stepless Eureka Mignon or DF64 costs more, often £300-£500+, but gives smaller movements.
None of that means a dearer grinder automatically makes your coffee better. It means the adjustment size changes. On a stepped grinder, you may need to choose the best available compromise. On a stepless grinder, you can keep nudging until the flow lands where you want it.
Watch puck prep before blaming the dial
If two shots at the same setting behave wildly differently, your grinder may not be the culprit. Uneven distribution, clumpy grounds, a wet basket or a rushed tamp can make one shot run fast and the next choke.
Useful kit is not expensive:
- WDT tool: about £8-£25; helps break clumps before tamping.
- 58mm dosing funnel: about £8-£20; reduces mess and lost coffee.
- Basic tamper: about £20-£40; better than the plastic scoop-tamper that comes with many machines.
If puck prep is inconsistent, read the WDT tools guide and the coffee tamper guide. Grinder adjustment only works when the puck is prepared the same way each time.
Filter, AeroPress and Cafetiere Adjustments
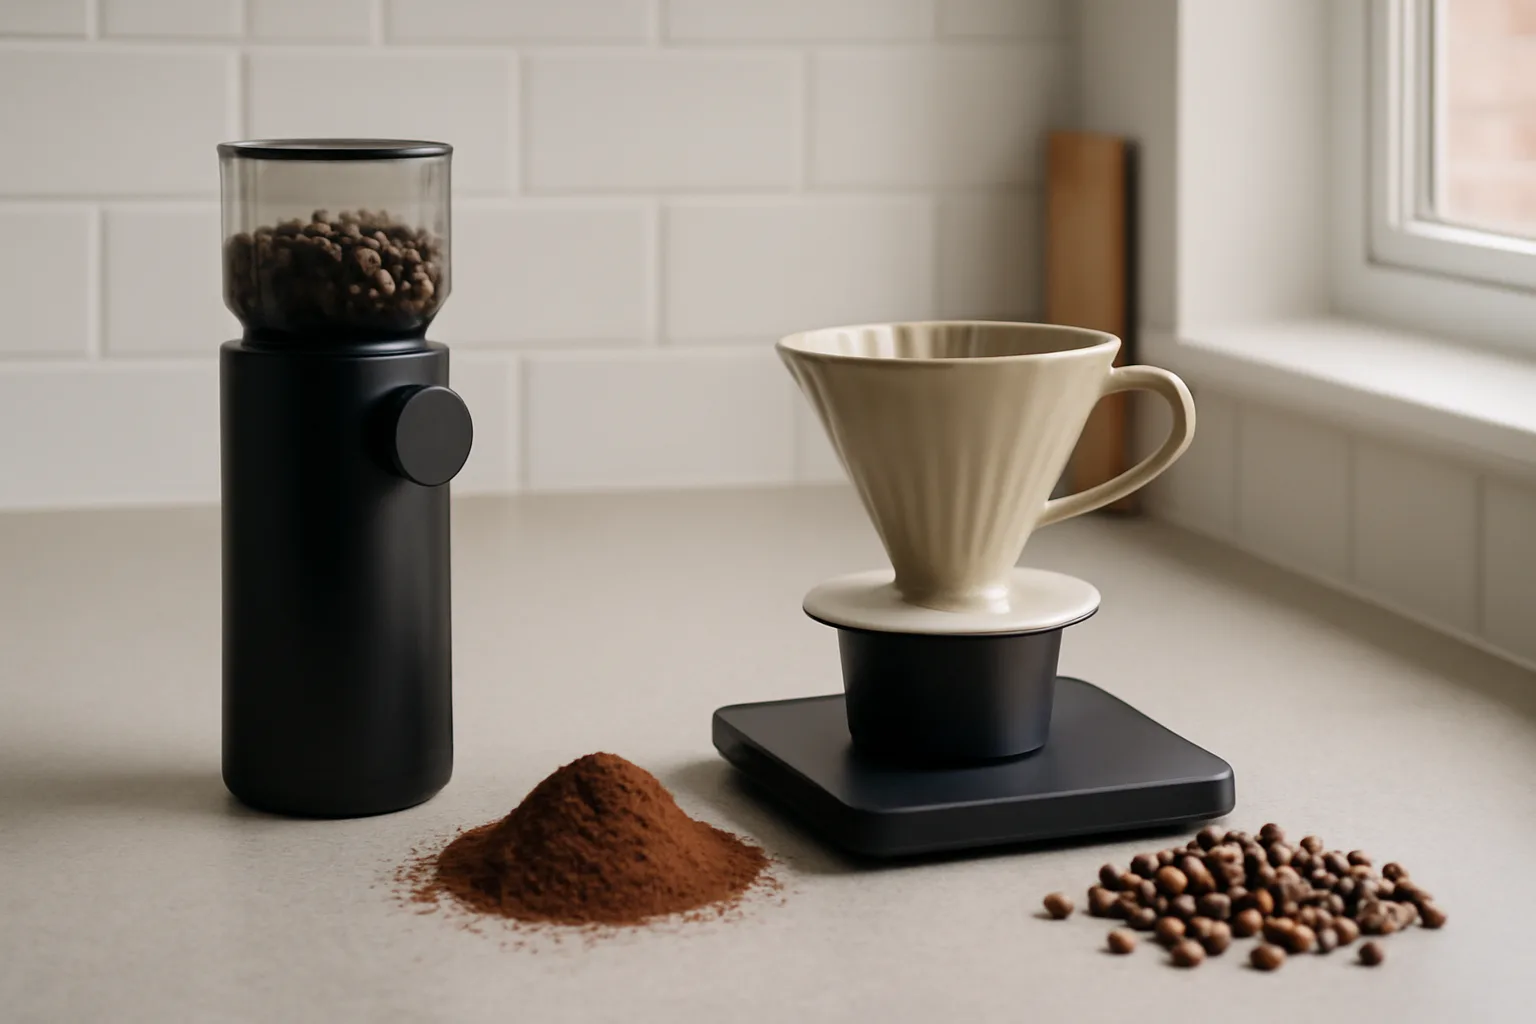
Filter brewing is kinder than espresso, but the same rule applies: taste first, then move the grinder with a clear reason. The danger with filter is making every coffee too fine because the first cup tastes weak.
Pour-over and batch filter
For V60, Kalita, Chemex and drip machines, grind affects flow as well as flavour. Too fine and the brew stalls; too coarse and the water rushes through before extracting enough sweetness.
If a V60 drains in under two minutes for a normal 250-300ml brew and tastes sour, go finer. If it takes four minutes, leaves a silty bed and tastes dry, go coarser. Chemex usually needs a little coarser than V60 because the paper is thicker and the brew volume is often larger.
The Wilfa Svart Aroma, listed at £135 on Wilfa UK and Clifton Coffee, is a sensible filter-focused grinder because it gives enough range for cafetiere, AeroPress and pour-over without pretending to be a serious espresso grinder. It is the kind of grinder I would rather use for daily filter than a cheap blade grinder and a lot of wishful thinking.
AeroPress
AeroPress is flexible, so grinder adjustment depends on recipe. A short inverted recipe with a one-minute steep can take a finer grind. A longer, gentler recipe can go medium or medium-coarse.
If your AeroPress tastes sharp, go finer or steep a little longer. If it tastes bitter and heavy, go coarser first. Because AeroPress is cheap to repeat, it is a good brew method for learning how one grinder click changes the cup. The brewer costs about £35-£45 in the UK, so the coffee waste from testing is often the bigger cost.
Cafetiere
Cafetiere coffee is usually best with a coarse to medium-coarse grind. Too fine and you get sludge, bitterness and grit at the bottom of the mug. Too coarse and it tastes thin, even after four minutes.
My rule is simple: if the final mug has a dusty texture, go coarser before changing brew time. If it tastes watery but clean, go a little finer. Do not chase paper-filter clarity from a cafetiere. That is not what the brewer does well.
When the Grinder Is the Problem, Not the Setting
Sometimes there is no magic setting because the grinder is not consistent enough, is dirty, or is being asked to do a job it was not built for.
Blade grinders are the hard limit
A blade grinder chops beans unevenly. You get dust, chunks and heat. You can pulse and shake it to improve things, but it still has no real burr gap to adjust.
If you only make cafetiere occasionally, a £25-£40 blade grinder is better than buying pre-ground coffee and leaving it open for weeks. For espresso or careful filter brewing, it becomes frustrating quickly. A basic burr grinder is the meaningful step up: expect about £50-£90 for entry-level electric burr grinders, £99-£135 for a Wilfa Svart model, and £150-£200 for all-rounders such as the Baratza Encore ESP or Fellow Opus.
Worn or dirty burrs
If you need to keep going finer every week with the same coffee, the burrs may be dirty, worn, or not seated correctly. Domestic burrs can last years, but the feel changes if you grind oily coffee daily and never clean them.
The Baratza Encore ESP page at Coffee Hit highlights quick-release burrs, which is not glamorous but matters for cleaning. A grinder that is easy to open is more likely to be maintained. Baratza also has a strong parts culture, which is one reason many home users keep them for years rather than treating them as disposable kitchen gadgets.
For maintenance detail, use the cleaning grinder burrs guide instead of turning this adjustment article into a repair manual.
Retention and static
Retention means some coffee stays in the grinder after grinding. Static means grounds cling to the chute, cup or counter. Both make settings feel less consistent.
The cheap fix is the Ross Droplet Technique: one tiny mist of water on the beans before grinding. Do not soak them. A small spray bottle costs about £2-£5. It can reduce static on many grinders, but it is not a cure for a poor burr set or a clogged chute.
A Simple Reset Routine When You Get Lost
When every cup tastes wrong, stop adjusting randomly. Reset the process and work back in.
The five-cup reset
Use the same coffee, same dose and same water for all five cups. This costs perhaps £2-£4 in beans if you are using a decent £10-£14 bag, which is cheaper than buying another gadget you do not need.
- Pick a middle setting: choose the grinder maker’s suggested middle point for your brew method, or use your last known good setting.
- Brew once and write one tasting note: sour, bitter, thin, muddy, sweet, dry. One note only.
- Move in the obvious direction: sour or thin means finer; bitter, dry or stalled means coarser.
- Brew again without changing anything else: same dose, same water, same pour style.
- Stop when it tastes better: do not keep adjusting because the internet says your setting “should” be somewhere else.
This is where a grinder with clear repeatable settings helps. I do not mind a simple stepped grinder for filter because you can get back to yesterday’s setting. With espresso, I prefer smaller adjustment control because one step can be the difference between “nearly there” and “why is this pouring like treacle?”
When to stop adjusting
Stop adjusting when the cup is balanced for the beans you have. That sounds obvious, but a lot of home brewers keep chasing a flavour the coffee cannot give.
If a light roast tastes sharp even after sensible finer adjustments, try slightly hotter water or a longer brew before blaming the grinder. If a dark roast tastes smoky no matter what, buy a different coffee next time. If a budget grinder gives muddy cups across several settings, save for a burr upgrade rather than wasting more beans.
The grinder dial is powerful, but it is only one part of the coffee setup. Use it deliberately and it becomes the fastest way to improve coffee at home. Use it randomly and it becomes a little black wheel of frustration.
Frequently Asked Questions
Should I adjust my coffee grinder every day? Not for filter coffee unless the cup has clearly changed. Espresso may need small daily tweaks as beans age, but keep dose and yield stable before moving the grinder.
Which way should I turn the grinder if coffee tastes sour? Go finer. Sour, thin coffee usually means under-extraction, so a finer grind gives the water more surface area to extract from.
Which way should I turn the grinder if coffee tastes bitter? Go coarser first. Bitter, dry or harsh coffee often means over-extraction, especially if the brew is slow or the espresso shot is choking.
Do grinder numbers mean the same thing on every grinder? No. A setting 15 on one grinder can be nothing like setting 15 on another, so use numbers as repeatable notes for your own grinder only.
Can a cheap grinder make good coffee? A cheap burr grinder can make decent cafetiere, AeroPress or filter coffee if you keep the recipe steady. A blade grinder is much harder to control, and cheap espresso grinding is where the compromise shows fastest.
How much should I spend before grinder adjustments feel reliable? For filter coffee, roughly £100-£150 gets you into useful burr-grinder territory. For espresso, expect about £150-£250 for entry-level control and £300+ for smaller, easier adjustments.